Chromebook Won’t Turn On? 7 Fixes That Actually Work
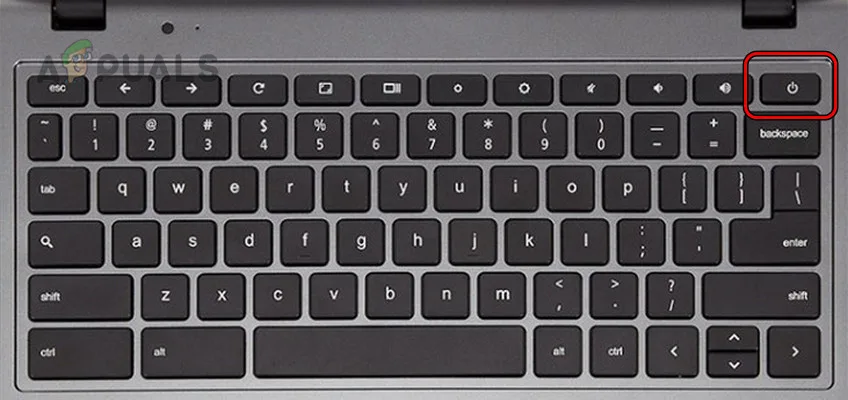
If your Chromebook won’t turn on, don’t panic. Most “dead” Chromebooks aren’t actually dead. The fix is usually a hard reset, a better charger, or a quick recovery reinstall.
Learning how to fix a Chromebook that won’t turn on starts with one question: what is the machine actually doing when you press power?
Chromebooks sell in huge volumes to schools and budget buyers, and repair shops report that a large share of “won’t power on” tickets end with no parts replaced. Manufacturer specifications for most ChromeOS devices list a 10-second Refresh + Power reset as the first diagnostic step. That matters, because the order you try things in decides whether you spend ten minutes or two hundred dollars.
So let’s start by sorting your symptom.
how to fix a chromebook that won’t turn on
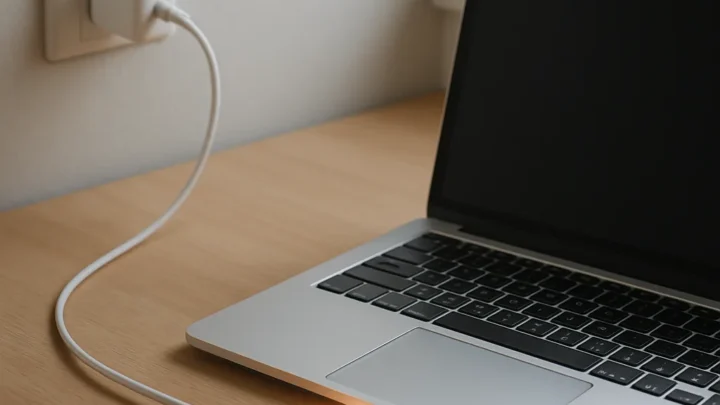
Plug in a known-good USB-C charger and wait 30 minutes. Then hold Refresh + Power for 10 seconds. Check the charging LED.
If there’s still no response, boot into Recovery Mode. Reinstall ChromeOS from a recovery USB if the system is corrupted. If nothing works, the hardware has likely failed.
First, Figure Out Which “Won’t Turn On” You’re Actually Dealing With
“Won’t turn on” means four different things, and each one has its own fix. Before you touch anything, watch the device for 30 seconds with the charger connected. Note the LED, the fan, and whether the screen flickers at all.
A Chromebook that’s truly off shows nothing. No LED, no fan spin, no warmth from the vents. But a Chromebook at minimum brightness looks identical to a dead one in a bright room.
That’s why your first move is always a screen brightness check, not a charger swap.
Symptom 1: Completely Dead, No LED, No Fan, No Sound
This is a power delivery problem. Either the battery is flat and not charging, or the device isn’t receiving power at all. Start with the charger and port.
If those check out, move to the hard reset.
Symptom 2: Charging Light On, but Screen Stays Black
The device has power, so the board is alive. This is usually a display issue, a brightness issue, or a stuck sleep state. Plug in an external monitor over HDMI or USB-C if your model supports it.
If the external screen shows ChromeOS, your panel or display cable is the culprit.
Symptom 3: Stuck in a Boot Loop or Frozen on the Chrome Logo
Power is fine, software isn’t. A boot loop after an update usually means a corrupted OS partition. Recovery Mode is your next stop.
Symptom 4: “ChromeOS Is Missing or Damaged” Message
This one is almost always fixable. It means the OS can’t find a bootable system image. You’ll need a USB drive and the ChromeOS Recovery Utility to reinstall.
Per Google’s ChromeOS help documentation, these four states cover the overwhelming majority of no-power cases. Identify yours before you start, or you’ll chase the wrong fix.
The Diagnostic Flow: Match Your Symptom to the Fix
Work top to bottom. Skip nothing. Each step rules out one layer before you move deeper.
Dead But Not Charging: Charger, Port, and Cable Checks
If the LED stays dark with the charger plugged in, the fault is upstream of the battery. Check these in order:
- Try a different USB-C wall adapter rated for at least 45W Power Delivery. Underpowered phone chargers won’t wake a drained Chromebook.
- Test a different cable. USB-C cables fail silently, and a dead cable looks exactly like a dead laptop.
- Try a different outlet, ideally one you’ve confirmed works with another device.
- Inspect the charging port with a flashlight. Lint, bent pins, and debris are common on school-issued devices.
- Wiggle the connector gently while watching the LED. A flicker points to a loose or worn port.
If the LED comes on at any point, you’ve found your problem. Replace the charger or cable and let the device charge for 30 minutes before booting.
Dead but the Charger Works: Hard Reset and Battery Drain Test
This is the single most useful fix on the list, and it’s free. A hard reset cuts power to the embedded controller and forces a clean restart of the hardware state. It does not erase your data.
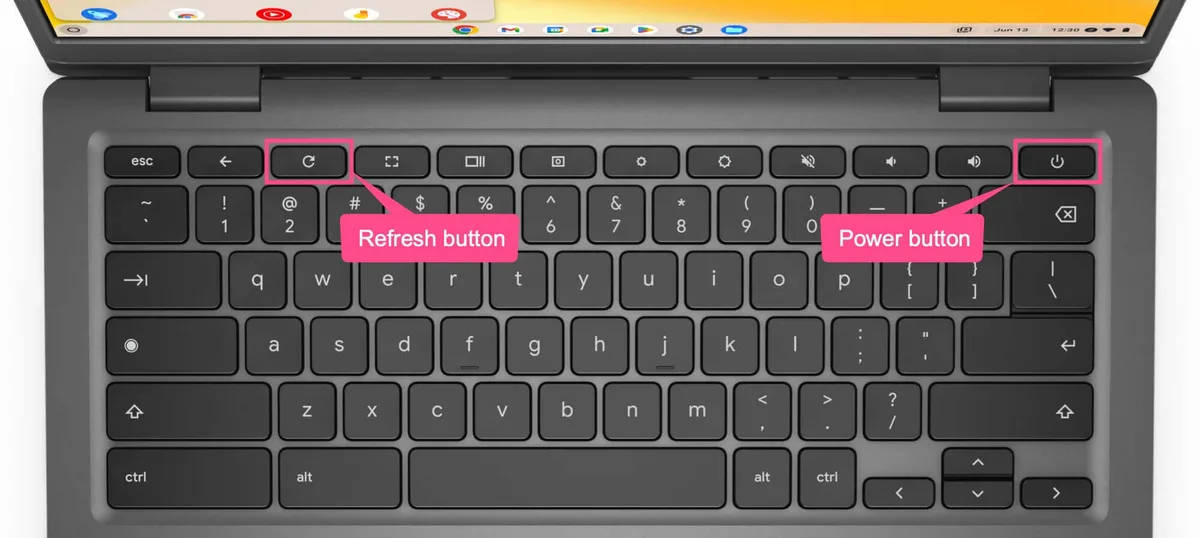
Here’s the sequence:
- Unplug the charger.
- Hold the Refresh key, which sits in the top row, fourth from the left.
- Keep holding Refresh and press the Power button.
- Hold both for 10 seconds, then release.
- Plug the charger back in and press Power once.
If nothing happens, leave it charging for a full hour, then repeat. A fully drained battery sometimes needs 15 to 30 minutes before the LED even responds. On models with a removable battery connector, a battery disconnect reset does the same job more forcefully, though it means opening the case.
Lights On, No Boot: External Monitor and Brightness Checks
The machine has power, so now you’re testing output. Do this:
- Press the brightness-up key several times. Some Chromebooks boot with the panel at zero.
- Plug in an external monitor. If ChromeOS appears there, the internal display or its ribbon cable has failed.
- Listen for the fan and feel the underside for warmth. A warm, quiet device is running, it just isn’t showing you anything.
- Shine a flashlight at the screen at an angle. A faint image means the backlight died, not the laptop.
A dead backlight is a repair, not a reset. A black internal panel with a working external monitor points to the same conclusion.
Boot Loop or Frozen Logo: Recovery Mode and ChromeOS Reinstall
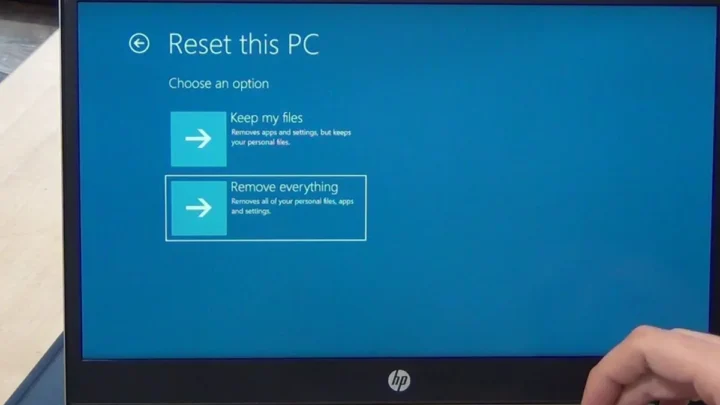
Recovery Mode reinstalls ChromeOS from scratch. It wipes local storage, so back up anything important to Google Drive first if you can reach the desktop.
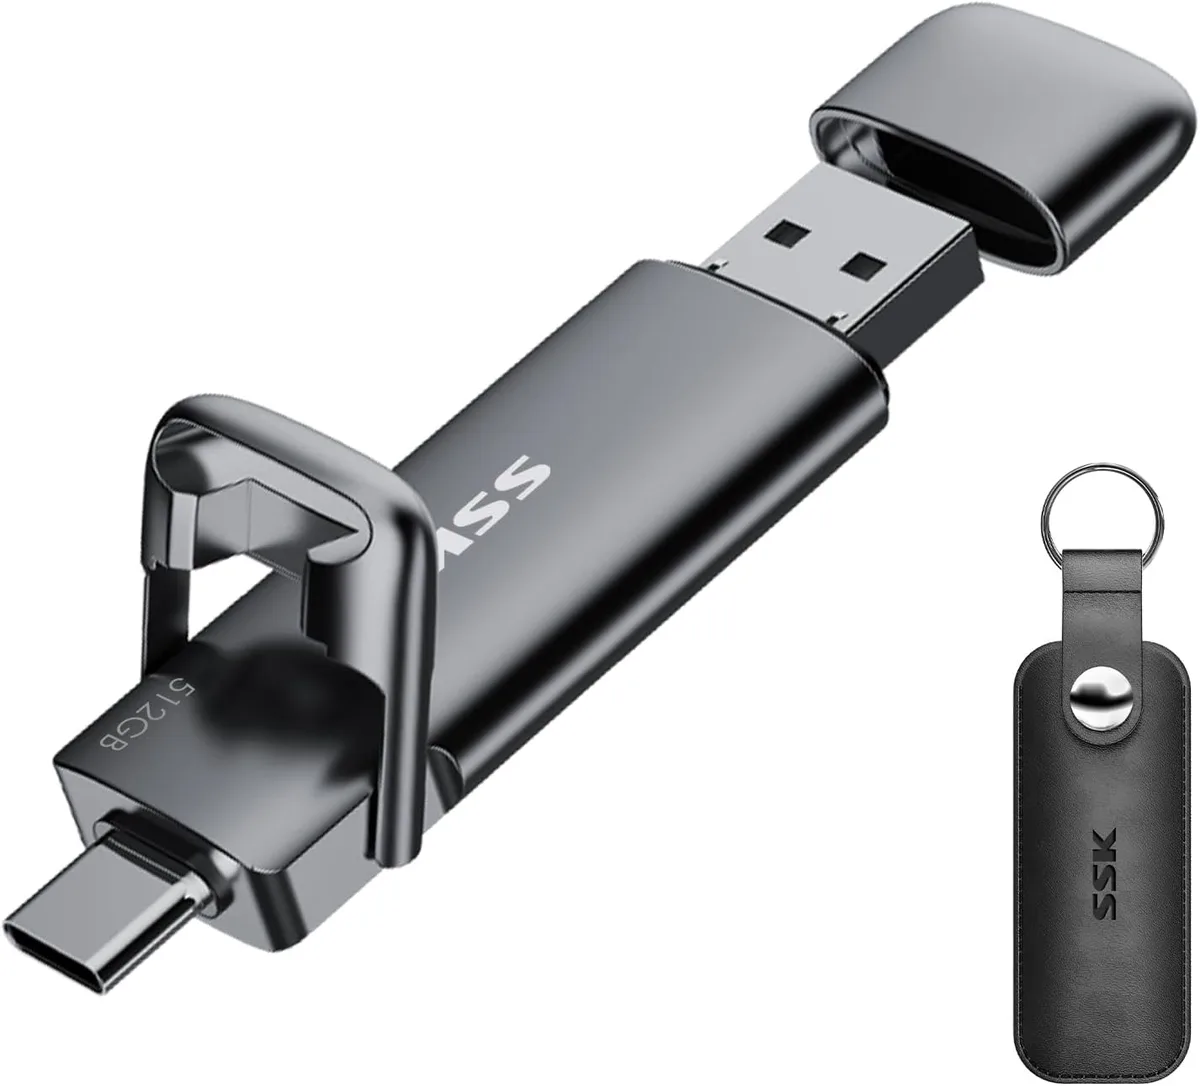
You’ll need an 8GB or larger USB drive and a second computer with the Chrome browser.
- On the working computer, install the Chromebook Recovery Utility from the Chrome Web Store.
- Run the utility and enter your Chromebook model number.
- Write the recovery image to the USB drive. This takes 10 to 20 minutes.
- On the broken Chromebook, hold Esc + Refresh, then press Power.
- Keep holding until the recovery screen appears, then release.
- Insert the USB drive and follow the on-screen prompts.
Once the reinstall finishes, the device restarts into a fresh ChromeOS setup. If it boots clean, you’ve fixed it. If it loops back into recovery, the storage chip or firmware is failing, and you’re looking at hardware.
Still Dead After Everything: Battery Disconnect Reset (Opening the Case)
Open the case only if the device is out of warranty. A battery disconnect reset means unplugging the battery from the motherboard for 60 seconds, then reconnecting it. Manufacturer specifications for Acer, HP, and Lenovo Chromebooks list this as a service procedure rather than a user one.
If you’re not comfortable with small screws and plastic clips, skip it and go straight to a repair quote.
When DIY Stops Making Sense: Repair vs. Replace
There’s a point where fixing costs more than replacing. Here’s how that math works out.
What a Shop Will Actually Charge You
Diagnostic fees at independent repair shops typically run $40 to $100. A charging port replacement is often $80 to $150. A motherboard swap runs $150 to $400, and on a $200 Chromebook that’s a losing trade.
| Fault | Typical Repair Cost | Worth It on a Budget Chromebook? |
|---|---|---|
| Charger or cable | $15 to $40 | Yes |
| Charging port | $80 to $150 | Usually |
| Battery | $60 to $120 | Usually |
| Display panel | $100 to $200 | Depends on model |
| Motherboard | $150 to $400 | Rarely |
Auto Update Expiration and the “Just Replace It” Tipping Point
Google publishes an Auto Update Expiration date for every Chromebook model. After that date, the device stops receiving ChromeOS updates and security patches. As of 2026, plenty of 2019 and 2020 models are sitting at or past their AUE.
If yours is expired and needs a $200 repair, put that money toward a replacement.
School-Issued and Managed Chromebooks: Read This First
If the Chromebook belongs to a school or employer, stop. Don’t open it and don’t run a recovery reinstall. Managed devices carry an enrollment lock, and wiping one can create a headache for your IT department.
Contact them instead. They usually have a swap program, and the fix costs you nothing.
Mistakes That Turn a 10-Minute Fix Into an Expensive One
Most failed DIY attempts come down to a handful of repeat offenses. Here’s what our research into user reports keeps turning up.
- Pressing the power button once and giving up. Chromebooks can take 15 to 30 seconds to respond from a fully drained state.
- Using a phone charger. A 5W or 18W adapter won’t revive a drained Chromebook battery. You need USB-C Power Delivery at 45W or higher.
- Confusing a hard reset with a factory reset. Refresh + Power does not erase data. Powerwash and Recovery do.
- Running Recovery before trying the hard reset. It’s the slowest, most destructive option, so save it for last.
- Opening a device still under warranty. That voids coverage on most models.
- Ignoring a swollen battery and pressing on. See the safety section below.
Safety Warnings Worth Taking Seriously
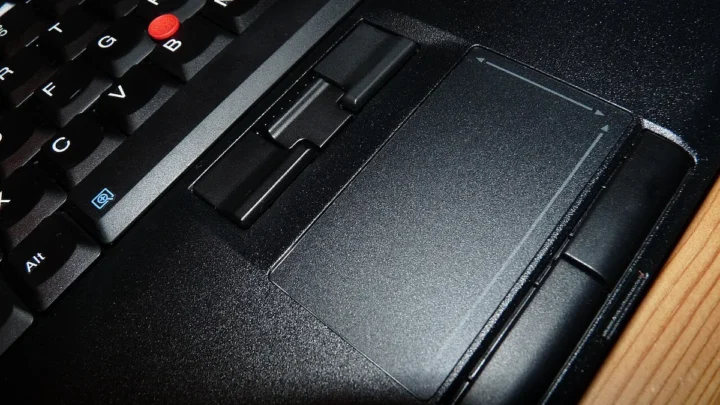
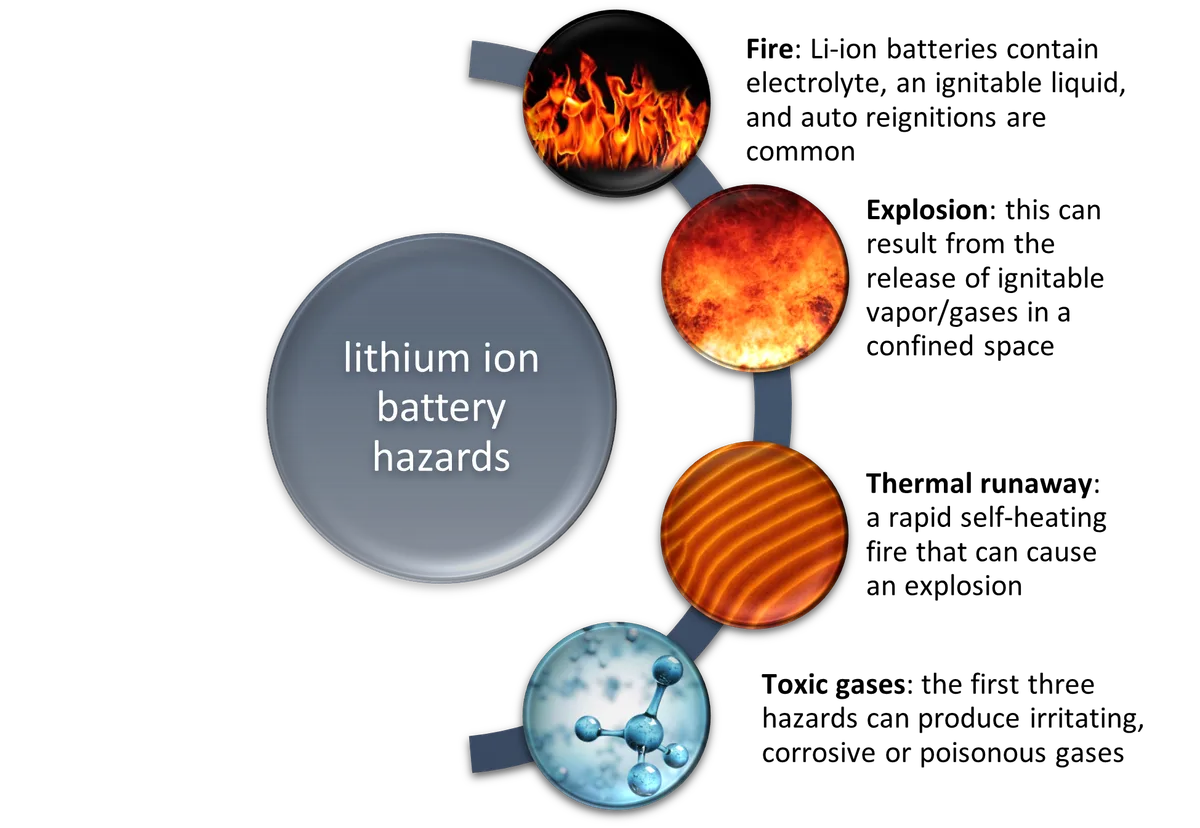
A swollen battery is the one thing on this list that can hurt you. If the trackpad feels raised, the case bulges, or the lid won’t sit flat, stop. Don’t charge it, don’t press on it, and don’t open it.
Lithium-ion cells in that state are a fire risk, and Google’s own device care guidance tells users to stop using a Chromebook with a swollen battery and contact support or a repair center.
Two more rules to keep in mind. Never open a Chromebook that’s still under warranty, because screws and clips leave evidence and most coverage excludes user-caused damage. And if the device is school or employer managed, recovery mode and Powerwash can trip an enrollment lock, so loop in IT first.
Static is a quieter threat. If you do open a case, touch a grounded metal surface before handling the motherboard. Winter air and carpet make static discharge worse, and one zapped board ends the repair before it starts.
Maintenance That Prevents the Next No-Power Scare
Most “won’t turn on” calls trace back to habits, not hardware failures. A few simple routines will keep your Chromebook booting when you need it.
Charge smart. Lithium-ion batteries age fastest when kept at 0% or 100% for long stretches. Store a Chromebook around 50% if you’re putting it away for weeks.
Use the original charger or a reputable USB-C Power Delivery adapter rated for 45W or higher.
Keep the port clean. Pocket lint, chalk dust, and bag debris are the top causes of charging-port failure on school devices. A wooden toothpick works better than a metal pin, which can bend pins or short the port.
Update on time. ChromeOS updates patch firmware too, and skipped updates can leave a device stuck at boot. Check your Auto Update Expiration date once a year.
Once a model passes AUE, it stops getting updates, and that’s your signal to plan a replacement.
| Maintenance Task | How Often | Why It Matters |
|---|---|---|
| Full charge cycle | Weekly | Keeps battery gauge accurate |
| Port inspection | Monthly | Catches debris before port failure |
| ChromeOS update check | Monthly | Prevents update-related boot loops |
| AUE date check | Yearly | Tells you when to stop spending on repairs |
Back up to Google Drive. If local storage holds anything you’d miss, sync it. That way a recovery reinstall costs you time, not data.
Frequently Asked Questions
How long should I hold Refresh and Power to hard reset a Chromebook?
Hold both keys for a full 10 seconds, then release. A single tap won’t work. If nothing happens, leave the device on the charger for 30 to 60 minutes and try again.
A fully drained battery sometimes needs that trickle charge before the LED or screen responds.
Will a hard reset erase everything on my Chromebook?
No. Refresh + Power resets the hardware state, not your files. Your data stays intact.
Only Powerwash and ChromeOS Recovery wipe local storage, so if either of those is your next step, back up to Google Drive first.
Can I use a phone charger to revive a dead Chromebook?
Usually, no. Most phone chargers deliver 5W to 18W, which isn’t enough to wake a fully drained Chromebook. You need USB-C Power Delivery at 45W or higher.
A weak charger can leave the LED dark even when everything else is fine.
Why does my Chromebook show “ChromeOS is missing or damaged”?
The system can’t find a bootable operating system image. This usually follows a corrupted update or a failed write to storage. It’s fixable with an 8GB USB drive and the Chromebook Recovery Utility, which reinstalls ChromeOS from scratch.
Should I repair or replace a Chromebook that won’t turn on?
Run the math. If the repair costs more than half the price of a replacement, and your model is past its Auto Update Expiration date, replace it. A $80 port fix on a two-year-old device is worth it.
A $300 motherboard swap on a 2019 model usually isn’t.
What if my Chromebook is school-issued and won’t turn on?
Contact your school’s IT department before touching anything. Managed Chromebooks carry an enrollment lock, and a recovery reinstall or Powerwash can trigger it. Most schools have a swap program, and the fix usually costs you nothing but a trip to the office.

Similar Posts