Lenovo Laptop Screen Flickering? Fix Horizontal Lines
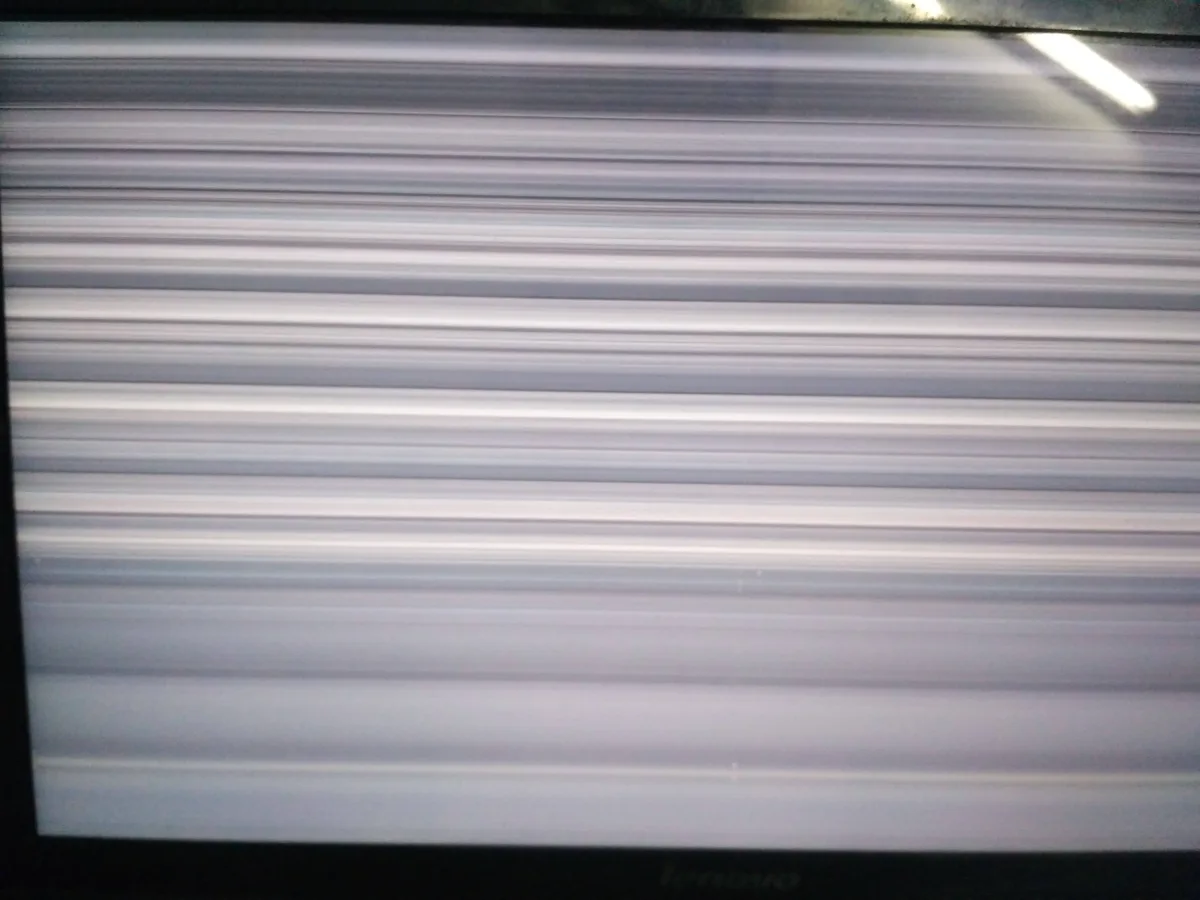
A Lenovo laptop screen flickering with horizontal lines is almost never a single fault. It's one of four things, and which one you're dealing with changes everything about how you fix it and what it costs. The good news is that a two-minute test narrows it down before you spend a dime.
The lines themselves are typically a symptom of a broken connection, a failing display panel, a bad eDP cable, or a dying GPU. Our research into Lenovo's own Hardware Maintenance Manuals (HMMs) confirms that the eDP cable, a thin ribbon running through the hinge, is the single most common culprit on machines that are out of warranty. So let's walk through this step by step, the way a repair tech would.
lenovo laptop screen flickering horizontal lines
Lenovo laptop screen flickering horizontal lines usually point to a hardware fault, not software. Four suspects cover nearly every case: the eDP cable, the LCD panel, the GPU, or a driver conflict. Test on an external monitor first.
Lines that persist mean a GPU or board issue. Lines that vanish mean a cable or panel problem.
The Two-Minute Test That Splits the Problem in Half
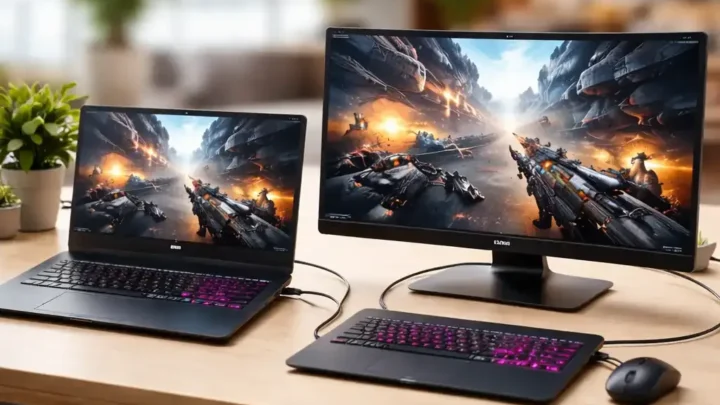
Here's the fastest way to find out what you're actually dealing with. Plug your Lenovo into an external monitor or TV using HDMI, DisplayPort, or USB-C. Then watch what happens to the lines.
If the external display is clean and the laptop screen still flickers, your GPU is fine. The fault lives in the panel, the eDP cable, or the hinge area. That's the good branch, and most repairs here land between $15 and $250.
If the external display also shows horizontal lines or flickering, the problem is upstream. That means the GPU, the system board, or a driver. On soldered-GPU ThinkPads and Legion models, board-level repair often runs $300 and up, if it's fixable at all.
Then there's the BIOS test. Power on the machine and tap F1 or F2 to enter BIOS. If the lines appear right there, before Windows even loads, you've ruled out every software cause in one move.
Microsoft's documentation on display driver resets (TDR, Event ID 4101) confirms that software flicker never survives outside the operating system.
So the two-minute split looks like this:
- Lines in BIOS only → software or driver
- Lines in BIOS and external monitor → GPU or board
- Lines on laptop only, external is clean → panel or eDP cable
- Lines only at certain lid angles → eDP cable, almost certainly
That last one is the giveaway. If moving the lid changes the flicker, you've got a cable problem, and that's the cheapest fix on the list.
Branch 1: Lines Show in BIOS and on an External Monitor — This Is Your GPU or Board
This is the branch nobody wants. Lines that appear in BIOS and on a second screen mean the fault is in the graphics processor or the traces feeding it. Software can't cause this.
On Lenovo machines with discrete graphics (Legion, LOQ, ThinkBook with NVIDIA RTX, older Yoga with AMD Radeon), VRAM failure is the classic cause. VRAM faults produce horizontal banding, blocky artifacting, and lines that get worse under load. Run a GPU stress tool like FurMark or OCCT for ten minutes and watch.
If the lines intensify as the GPU heats up, you've found your answer.
Integrated graphics failures are rarer but they happen. On Intel Iris Xe and AMD Radeon integrated setups, the GPU sits inside the CPU package. A failure there usually means a full board replacement, not a chip swap.
Per Lenovo's service documentation, most modern ThinkPads and IdeaPads use soldered CPUs and GPUs, so there's no socket to swap.
Your options here, ranked by cost:
- Driver rollback or clean install (free, worth trying once)
- BIOS update from Lenovo Support (free, fixes rare compatibility bugs)
- Authorized service center diagnosis ($80, $150)
- Board replacement ($300, $600, often exceeds device value)
- Replace the laptop (usually the smart call)
If your machine is under Lenovo Premium Care or standard warranty, stop here and open a ticket. Don't open the case. Board-level symptoms are exactly what warranty covers, and touching anything yourself risks the claim.
Branch 2: Lines Vanish on an External Monitor — You're Looking at the Panel or the eDP Cable
Good news. This is the fixable branch. Your GPU is fine, and the problem is somewhere between the motherboard and the LCD panel.
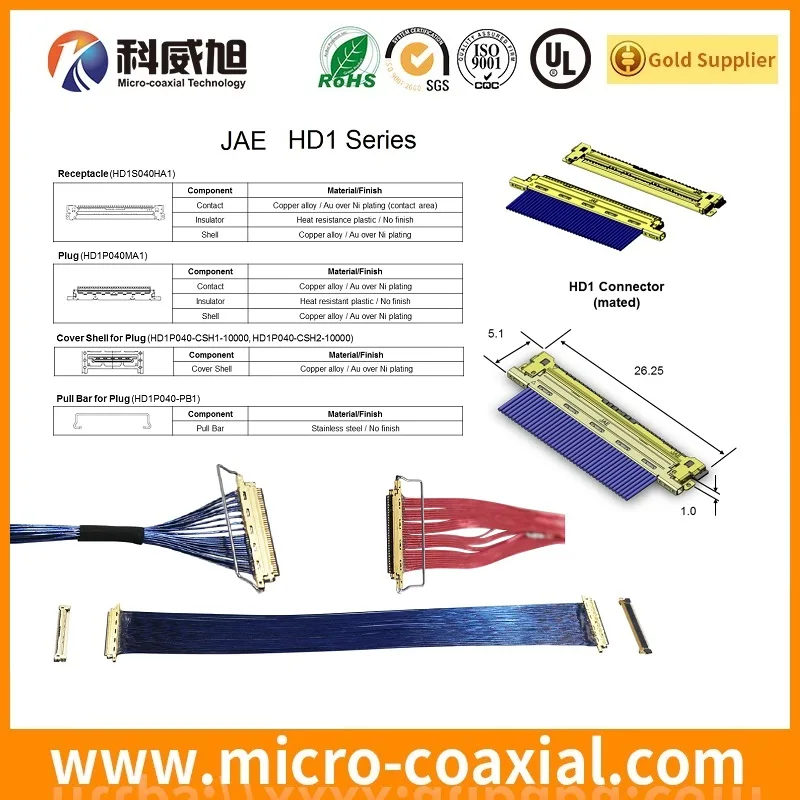
The eDP cable (embedded DisplayPort) is a flat ribbon that carries video, power, and touch signals from the board to the panel. It routes through the hinge, which means it flexes every time you open and close the lid. After a few thousand cycles, the conductors inside can crack or the connector can work loose.
Here's how to narrow it down further:
- Lid angle test: Slowly open and close the lid. If the lines come and go at specific angles, it's the cable.
- Bezel pressure test: Press gently along the bottom bezel near the hinge. If pressing changes the flicker, the cable or its connector is the fault.
- Boot test: If lines show in BIOS on the internal screen but not externally, panel or cable. Still that branch.
If the lid angle test is positive, replace the eDP cable first. It's a $10, $30 part and usually a 30, 60 minute job on ThinkPads, which have service-friendly designs. IdeaPads and Yoga convertibles are harder because the panel is often glued.
If the cable swap doesn't fix it, the panel itself is failing. That's a $60, $250 part depending on size, resolution, and whether it's touch-enabled. Match the exact panel model number from Lenovo's PSREF or the sticker on the back of the old panel before ordering.
The Hinge, Bezel, and Lid-Angle Check That Pinpoints a Cable Fault
The hinge is where most horizontal line faults are born, and it's also where most people miss the real cause. Let's go through the checks in order.
First, the lid sweep. Open the laptop slowly from fully closed to fully open, watching the screen the whole time. Log where the lines appear.
A cable fault usually shows up in one specific zone, maybe 30 to 60 degrees, then clears as you pass it.
Second, the hinge feel. A stiff or crunchy hinge puts more stress on the cable. If one side feels tighter than the other, that side is likely where the cable is being pinched.
This is common on older IdeaPads and Yogas where the hinge tension wasn't adjusted at the factory.
Third, the bezel press. Run your thumb along the bottom edge of the screen frame, pressing lightly. Don't press hard on the LCD itself.
If the lines flicker or change when you press, the eDP connector at the panel end is loose or the cable trace is broken near the connector.
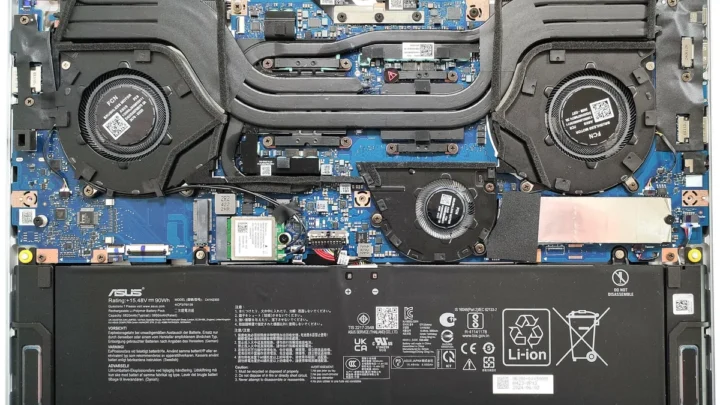
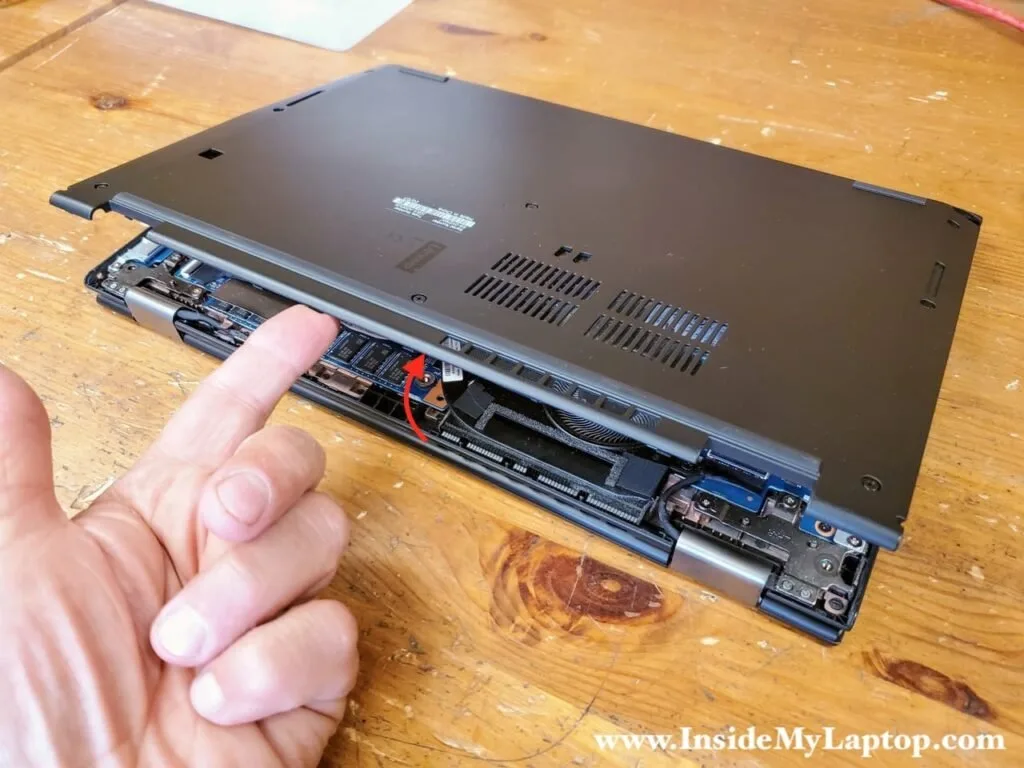
Fourth, the reseat. If you're comfortable opening the bottom cover, disconnect the battery first, then find the eDP connector on the motherboard. It's a small, flat, latching connector.
Unplug it, inspect the pins, and plug it back in firmly. Do the same at the panel end if you can reach it. A surprising share of "failed" cables are just loose connectors, and this costs nothing.
Manufacturer specifications for eDP cables indicate a typical flex life of around 20,000 open-and-close cycles for quality cables. Cheap aftermarket cables can fail in a fraction of that. If you're replacing one, get an OEM or reputable brand, not the cheapest listing on a marketplace.
Software Fixes Worth Ruling Out Before You Open Anything
You don't want to tear down a laptop for a problem a driver reinstall would fix. Run these checks first. They take fifteen minutes and cost nothing.
Driver Clean Install, Refresh Rate, and BIOS
Start with a clean driver install, not a rollback. Use Display Driver Uninstaller (DDU) to fully remove the current Intel, AMD, or NVIDIA driver, then install the latest official version from the chip maker's site. Windows Update sometimes pushes a driver that misbehaves on specific Lenovo panels.
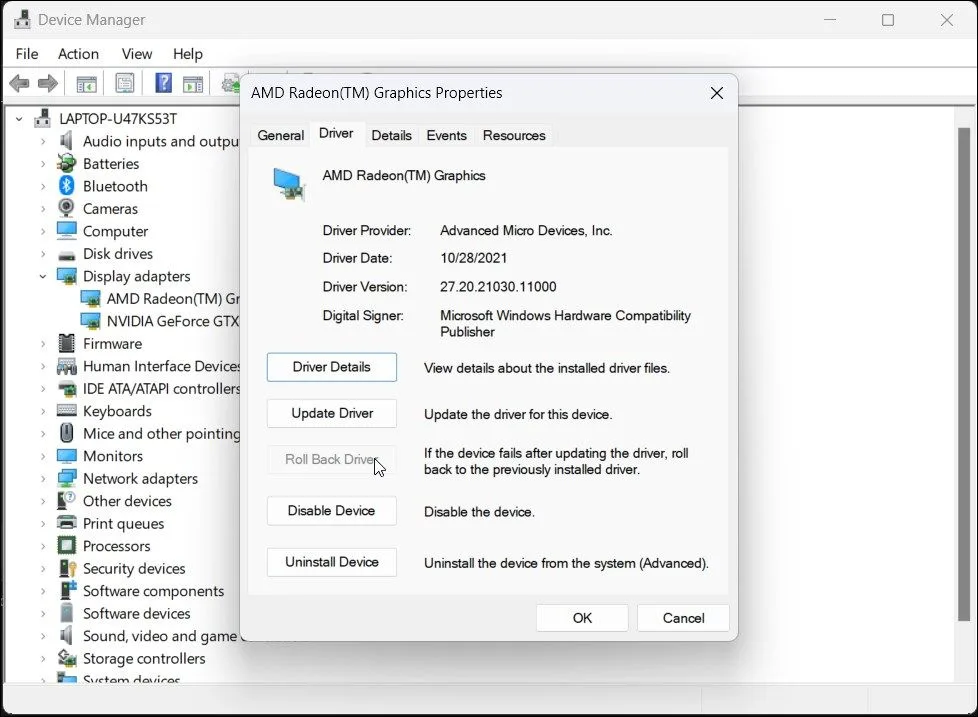
Next, check refresh rate. If your panel supports 120 Hz or 144 Hz and Windows is running it at 60 Hz, or vice versa, you can get flicker and banding. Set it to the panel's native rate in Settings > System > Display > Advanced display.
Then update your BIOS. Some Lenovo models, particularly certain ThinkPad and IdeaPad generations, have documented panel compatibility bugs fixed in later firmware. Grab the latest BIOS from Lenovo Support using your serial number.
When It's Actually PWM Flicker, Not Horizontal Lines
Not every flicker is a hardware fault. PWM (pulse-width modulation) dimming causes backlight flicker on some OLED and low-brightness IPS panels. This isn't horizontal lines, it's a subtle pulsing you notice at low brightness.
It's normal for those panels, though some people are sensitive to it.
If you see distinct lines rather than a pulsing glow, it's not PWM. If you see a uniform brightness flutter, especially at under 30% brightness, it probably is. That's a panel design characteristic, not a defect, and no repair will fix it.
Turning up the brightness usually stops it.
One more software red herring: HDR and auto-brightness. Turn both off temporarily. On some Lenovo laptops with adaptive brightness, Windows switches modes and produces a visible flicker that looks like a fault but isn't.
If none of these fix it, close the software chapter. You've got a hardware fault, and it's time to decide between repair and replacement.
Repair, Warranty, or Replace: Costs and What Makes Sense
Once you've identified the branch, the money question decides the rest. Our editorial analysis of repair pricing across Lenovo's lineup shows a wide spread, and the answer hinges on your exact model.
Here's the cost landscape as of 2026:
| Fix | Part Cost | Labor (Shop) | DIY Difficulty |
|---|---|---|---|
| eDP cable replacement | $10–$30 | $60–$120 | Moderate (ThinkPad: easy) |
| LCD panel replacement | $60–$250 | $100–$200 | Moderate to hard |
| Full display assembly (glued Yoga) | $200–$500 | Included | Hard |
| GPU / board repair | $300–$600 | Often not offered | Not DIY |
| New laptop (comparable model) | $400–$900 | N/A | N/A |
The rule of thumb: if the repair costs more than 50% of a comparable replacement, replace it. A $15 cable on a $600 ThinkPad is a no-brainer. A $500 board repair on a 5-year-old IdeaPad is throwing money away.
If you're under warranty, use it. Lenovo Premium Care and standard warranties cover board and panel failures that aren't caused by drops or liquid. Open a ticket through Lenovo Support before you touch anything.
Parts and Labor Pricing by Lenovo Line
Not all Lenovo laptops fail the same way, and not all are equally repairable.
ThinkPad (T, X, L, E series): These are the easiest to fix. Lenovo publishes full Hardware Maintenance Manuals with step-by-step disassembly. The eDP cable and panel are usually accessible without removing the motherboard.
A competent DIYer can swap a cable in under an hour.
IdeaPad: Middle of the road. Many models have the panel glued or the bezel clipped tight. Cable access is decent, but panel swaps get fiddly.
Budget $80, $200 for a shop to handle it.
Yoga / 2-in-1 convertibles: The hardest. The display is often bonded as one assembly with the digitizer. You can't just swap the panel.
Expect $200, $500 for a full assembly, and DIY success rates drop sharply.
Legion / LOQ gaming: Higher-refresh panels cost more ($150, $300). The hinge area is usually well-built, so cable faults are less common. When lines appear here, suspect GPU or driver first.
Chromebooks: Cheap panels ($40, $90), but low resale value. Repair rarely makes sense. Replace instead.
What Voids Your Warranty
Opening the case doesn't automatically void your Lenovo warranty in most regions, but damaging something while you're in there does. The distinction matters.
What genuinely kills a claim:
- A cracked panel from prying the bezel wrong
- Stripped screws or broken clips from rough disassembly
- Liquid damage found inside
- Third-party parts installed and failing
- Removed or damaged warranty seals (on some models)
What doesn't kill a claim: reseating a cable, running diagnostics, or updating BIOS. Those are standard troubleshooting steps.
Before you open anything, check your coverage at Lenovo's warranty lookup portal. If you're covered, a technician comes to you or you ship it in. That's the safest path, and it's free.
If you're out of warranty, weigh the DIY cost against a local shop. For a ThinkPad cable swap, DIY wins easily. For a Yoga assembly, a shop is usually worth it.
Mistakes That Turn a $15 Cable Job Into a $400 Board Repair
Most damage happens before the first screw comes out. Here's what to avoid.
Not disconnecting the battery. This is the big one. The battery stays live even when the laptop is off. If a screwdriver slips across the motherboard with power connected, you can fry the board.
Always disconnect the battery first, every time.
Skipping ESD protection. Static discharge you can't feel (under 100 volts) can still damage sensitive components. Wear an anti-static wrist strap or touch a grounded metal object before handling the board.
Prying the bezel from the wrong corner. Glued and clipped bezels crack easily. Work slowly, use plastic pry tools, and warm the adhesive with a hair dryer on low if it's bonded.
Forcing a stuck connector. The eDP connector has a latch. Lift it, don't yank it. Pulled pads mean a new motherboard.
Ordering the wrong panel. Match the model number exactly. A 30-pin panel won't work on a 40-pin connector, and a non-touch panel won't fit a touch model.
Reusing a damaged cable. If the cable failed once, replace it, not just reseat it. A reseated damaged cable will fail again.
Ignoring the hinge. A stiff hinge will kill a fresh cable in weeks. Adjust or replace the hinge while you're in there.
Get these right and a cable job stays a cable job. Get them wrong and you're pricing a board.

Similar Posts