How to Customize Your Laptop: A Complete Guide
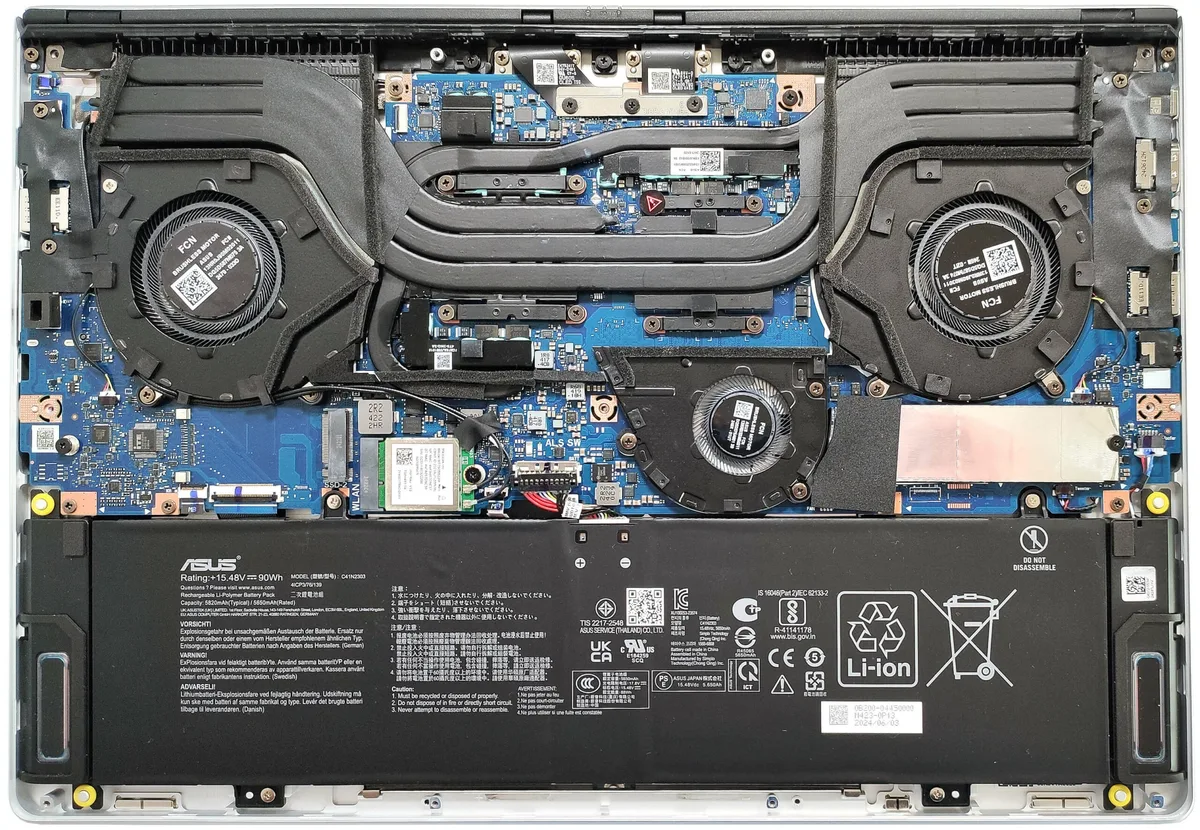
You customize a laptop by upgrading its storage, RAM, battery, Wi-Fi card, thermals, and cosmetics. Start by checking your exact model’s service manual. Confirm which parts are user-replaceable.
Soldered parts can’t be swapped. Then buy matched parts and open the chassis carefully.
Start Here: What Your Laptop Will Let You Change
Not every laptop wants to be opened. Some are sealed shut by design. Others, like the Framework Laptop, are built for modular repairs.
Knowing which camp your machine falls into saves you money and frustration.
The fastest way to find out? Look up your model’s service manual. Manufacturer specs confirm exactly which parts are field-replaceable.
Dell, Lenovo, and HP publish these publicly. Apple publishes limited guidance for its newer machines.
The Three Upgrade Tiers (Sealed, Semi-Modular, Fully Modular)
If your laptop is fully sealed, treat it as a closed system. RAM is soldered to the board. The SSD sits under glue.
Battery swaps need a heat gun. Apple Silicon MacBooks and most premium ultrabooks sit here.
If your laptop is semi-modular, you get one or two doors. Usually that’s storage and sometimes the battery. RAM stays soldered.
This is the most common category in 2026, especially on thin-and-light models.
If your laptop is fully modular, almost everything comes apart. Framework leads this space. Older business laptops from Dell and Lenovo also qualify.
Gaming laptops often fall here too.
How to Check Your Model Before You Buy a Single Part
Grab your exact model number first. Not the marketing name. The full spec code, like “Dell XPS 13 9340” or “ThinkPad T14 Gen 4.”
Then do these three things:
- Search the manufacturer’s service manual PDF.
- Check iFixit’s repairability score for your model.
- Look up your warranty status on the manufacturer’s site.
If the RAM is soldered, don’t buy RAM. If the SSD is a rare M.2 2230, buy that size. The wrong part wastes weeks.
The Decision Tree: Match the Upgrade to Your Situation
Upgrades aren’t universal. What fixes a slow laptop is different from what fixes a hot one. Use the branch below that matches your actual complaint.
Branch 1 — The Laptop Is Sluggish, Not Slow Enough to Replace
If the boot takes minutes and apps stutter, the bottleneck is usually storage. A PCIe NVMe SSD hits 3,500 MB/s or more on Gen3. A spinning drive tops out near 120 MB/s.
That’s a 30x gap.
If the RAM is 8GB and soldered, try a clean OS install first. If RAM is replaceable, a dual-channel 16GB kit can lift integrated GPU performance by 10% to 30%.
Branch 2 — It Runs Hot, Loud, or Throttles Under Load
If the fan screams and clocks drop after 10 minutes, thermals are the issue. A repaste typically drops temps 5°C to 15°C. Clearing dust from the heatsink can help just as much.
If you want silence more than speed, tune the fan curve in BIOS or a vendor tool. A cooling pad gives limited gains on its own.
Branch 3 — Battery Dies Too Fast to Be Useful
If you’re under 80% battery health, a replacement is worth it. OEM batteries cost $50 to $150. Aftermarket cells often inflate mAh claims.
Stick with OEM or a certified equivalent.
Branch 4 — You Want It to Feel and Look Like Yours
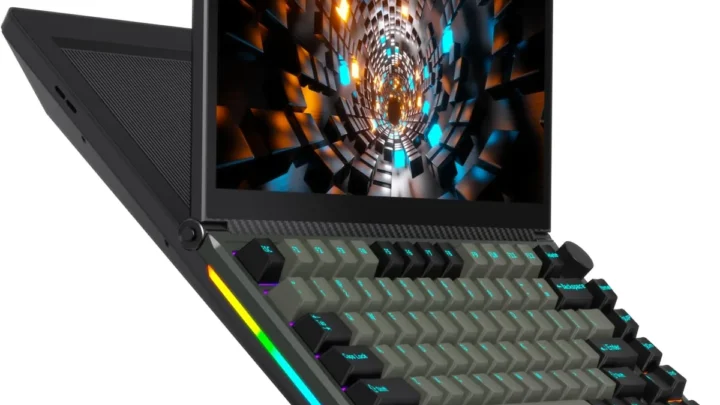
If performance is fine, cosmetics are fair game. Skins cost $15 to $40. Backlit keyboard swaps are rare, but external mechanicals work on almost anything.
A laptop stand improves posture more than any software tweak.
Branch 5 — You’re Hitting a Wall (Soldered RAM, Sealed Storage, Apple Silicon)
If both RAM and storage are soldered, upgrades stop dead. Your realistic options are eGPU (rare on modern Thunderbolt-limited chassis), cloud gaming, or an external drive. If that’s not enough, replacement is the honest answer.
Upgrades Worth Doing, Ranked by Payoff
Not all upgrades are created equal. Some cost $40 and change everything. Others cost $200 and barely register.
Here’s how the priorities shake out.
| Upgrade | Typical Cost | Payoff | Difficulty |
|---|---|---|---|
| NVMe SSD | $40–$300 | Huge | Easy |
| RAM (if not soldered) | $25–$120 | High | Easy |
| Battery (OEM) | $50–$150 | High | Medium |
| Thermal repaste | $8–$25 | Medium–High | Medium |
| Wi-Fi 6E card | $20–$40 | Medium | Easy |
| Cooling pad | $20–$60 | Low–Medium | None |
| Cosmetic skin | $15–$40 | Aesthetic | Easy |
Storage, RAM, Battery, Thermals, Wi-Fi: What Actually Moves the Needle
Storage first, always. It’s the single biggest perceived-speed win on an older machine. Boot times drop from minutes to seconds.
RAM second, if it’s replaceable. Going from 8GB to 16GB eliminates most multitasking stutter. Going to 32GB only helps if you’re running VMs or heavy creative apps.
Battery third. A degraded cell drags the whole experience down. Thermals and Wi-Fi come next.
Both are cheap fixes with visible improvements.
Parts That Look Cheap but Aren’t (And Vice Versa)
Beware cut-rate SSDs. Counterfeit drives report false capacities and fail early. Buy from brands with published TBW (terabytes written) ratings.
Thermal paste is cheap and effective. Liquid metal is not a beginner upgrade. It’s conductive and can short a board if it leaks.
Wi-Fi cards are tricky. Intel cards work broadly on Windows. Some Lenovo and HP models whitelist cards in BIOS.
Check before buying.
Doing the Work: Order of Operations That Keeps You Out of Trouble
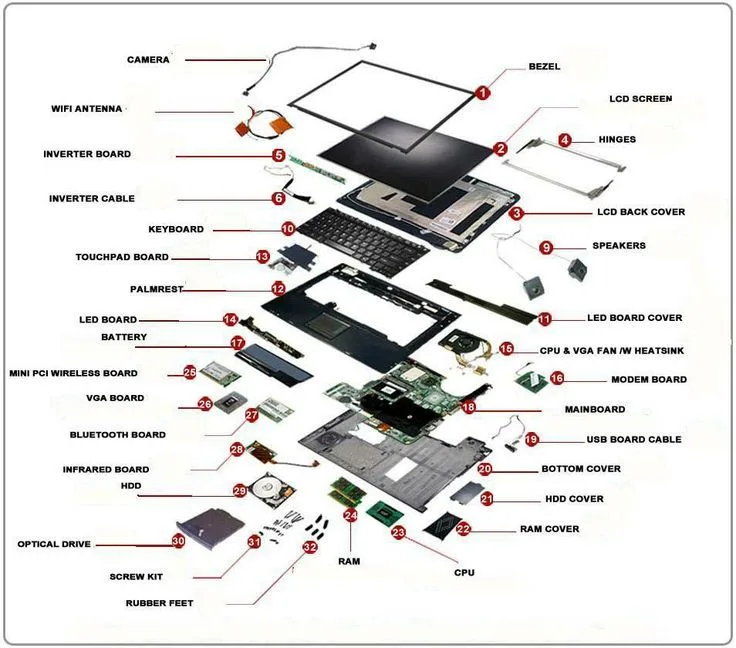
The order you do things in matters. Do storage before RAM before battery before thermal work. Why?
Because each step teaches you the chassis a little better.
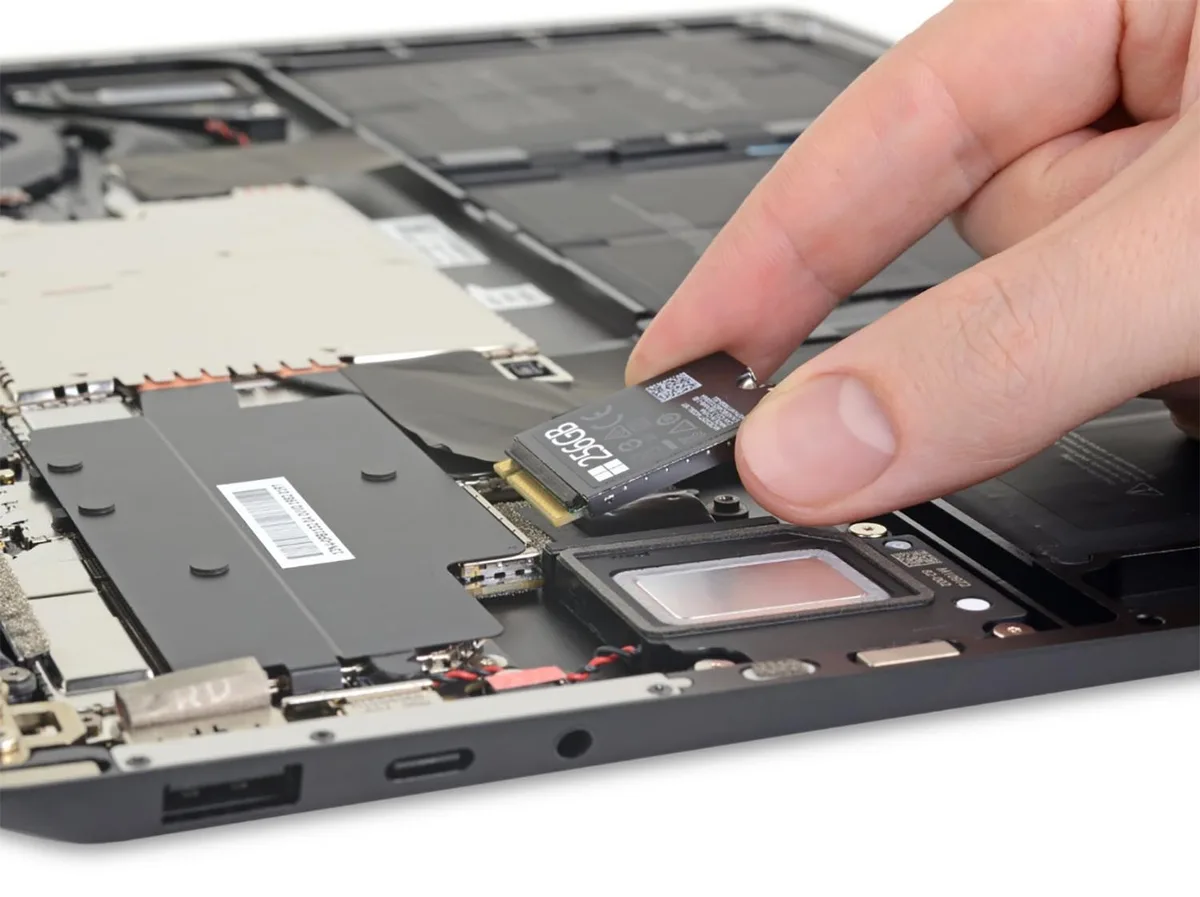
Backup, Teardown, and the Battery-Disconnect Rule
Back up your data first. Every time. No exceptions.
A clone to an external drive takes 20 minutes on USB 3.2.
Then follow this sequence:
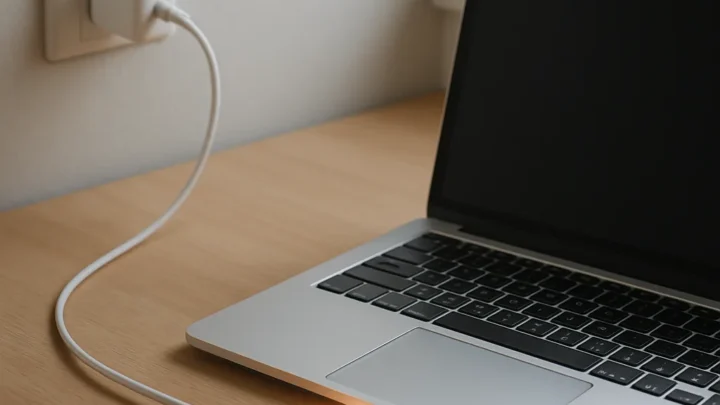
- Power off and unplug the charger.
- Ground yourself. NIST’s ESD guidance is clear: a wrist strap prevents static damage.
- Remove the bottom panel screws. Keep them organized by location.
- Disconnect the battery FIRST. Before touching any other component.
- Photograph every step for reassembly.
Cloning vs Clean Install — Pick Based on Your Data Situation
If your current OS works fine, clone the drive. Software like Macrium Reflect or Clonezilla handles it. Plug the new SSD into a USB enclosure, clone, then swap.
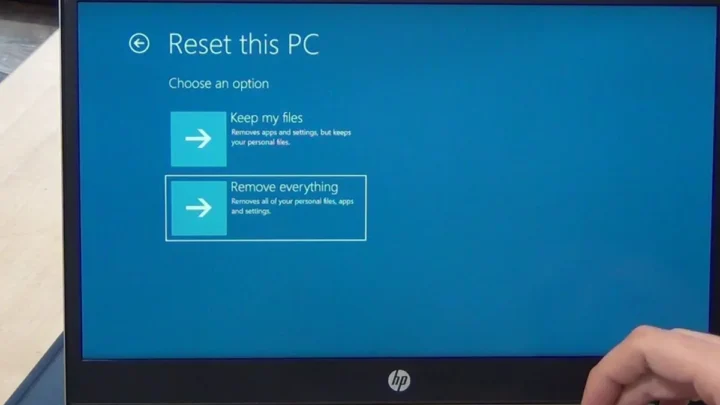
If your OS is bloated or buggy, do a clean install. It takes longer but gives you a fresh start. Reactivation on Windows is automatic if you link a Microsoft account.
Testing After Every Change (So You Know What Broke What)
Boot after every single change. Not after all of them. If the machine fails to POST, you know exactly which step caused it.
Test RAM with MemTest86 for at least one full pass. Run CrystalDiskMark on new storage. Check temps with HWiNFO under load.
Run Cinebench before and after thermal work for a real delta.
Mistakes That Cost People Their Warranty, Their Data, or Their Laptop
The most expensive mistakes are the boring ones. Stripped screws. Lost clips.
A disconnected cable you forgot to reconnect. Here’s what to avoid.
Screws, Clips, ESD, and the Soldering Iron You Shouldn’t Touch
Never force a screw. If it resists, you’re using the wrong bit or it’s already stripped. Torx and pentalobe screws are common on newer machines.
Plastic clips snap easily on thin chassis. Use plastic pry tools, not metal ones. Work slowly around the seam.
Never touch a soldering iron to a laptop mainboard unless you’ve done board-level repair before. One slip kills the board, and that’s a $400+ mistake.
BIOS Locks, Driver Conflicts, and Activation Surprises
Some corporate laptops have BIOS locks that block new hardware. If the machine came from an office fleet, check before buying parts.
Wi-Fi card swaps can trigger driver conflicts. Uninstall old drivers before pulling the card. Install new ones after booting.
Windows may flag a hardware change as a new machine for activation. Linking your license to a Microsoft account prevents this. Per the FTC’s Magnuson-Moss guidance, warranty void stickers don’t automatically void your coverage in the US.
They can’t deny a claim just because you opened the case. But physical damage from your own work? That’s on you.
What It Costs and What You Get Back
Costs vary wildly by laptop tier, but the ranges are remarkably consistent. Here’s what verified buyer feedback and manufacturer parts pricing show as of 2026.
| Upgrade | Budget Option | Mid-Range | Premium |
|---|---|---|---|
| NVMe SSD (1TB) | $45 | $90 | $180 |
| RAM kit (16GB) | $30 | $55 | $110 |
| OEM battery | $55 | $90 | $150 |
| Wi-Fi 6E card | $22 | $30 | $40 |
Add roughly $20 to $40 for tools if you’re starting fresh: a precision screwdriver kit, plastic pry tools, and an anti-static wrist strap.
Upgrade vs Replace: The Break-Even Point
A typical mid-range upgrade run lands between $150 and $250. That covers storage, RAM, and a fresh battery. If those three fix your complaints, you’ve just bought 2 to 3 more years for a fraction of a new laptop.
If your CPU is more than six generations old, that math breaks down. Same if you’re hitting a soldered RAM wall and running modern workloads. In those cases, the money is better spent on a replacement.
Keeping It Fast and Cool Long After the Upgrade
Upgrades don’t stay fresh on their own. Dust accumulates. Paste dries out.
Fan curves drift toward noise. A little maintenance every six to twelve months keeps the gains intact.
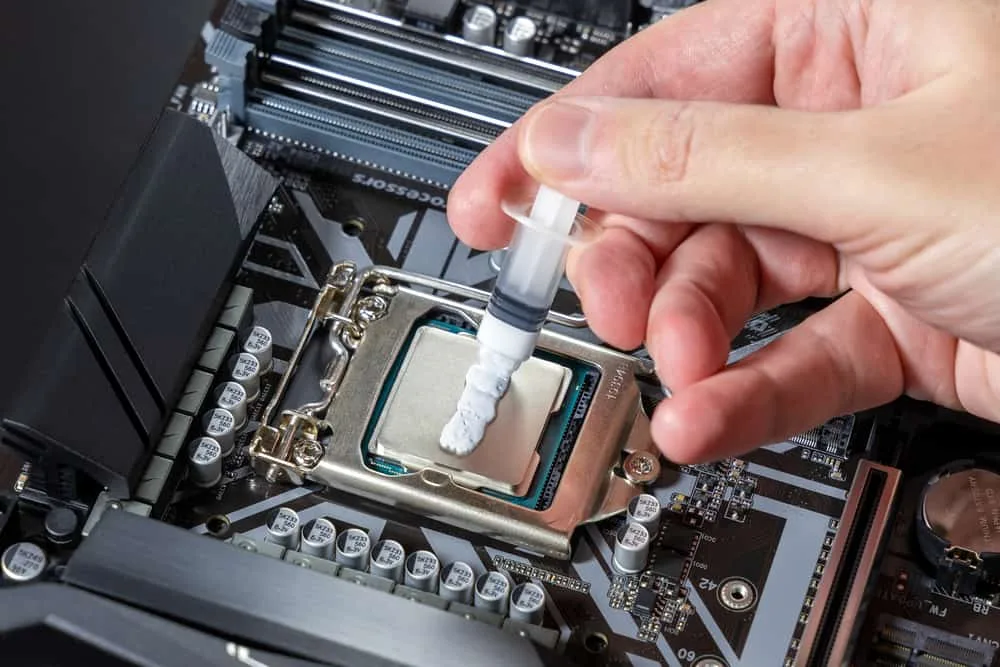
Dust, Paste, Fan Curves, and OS Cleanup
Blow out the heatsink and fan with compressed air every six months. Hold the fan blade still while you do it. Spinning it with air can damage the bearing.
Thermal paste typically lasts two to five years before it pumps out or dries. If temps climb 10°C above what they were after your last repaste, it’s time again.
On the software side, disable startup bloat and update drivers quarterly. Windows and macOS both have built-in startup managers. Use them.
When to Stop Upgrading and Start Shopping
Stop upgrading when the CPU is your bottleneck. If your processor sits pegged at 100% during your normal work, no SSD or RAM kit will fix that.
Stop when the chassis is failing too. Broken hinges, cracked bezels, or dead ports mean the machine is done, regardless of what’s inside.
And stop when upgrades cost more than 40% of a replacement. At that point, you’re just paying to delay the inevitable.
FAQs
Can I upgrade RAM if it’s soldered?
No. Soldered RAM is permanently attached to the mainboard and cannot be replaced. Check your service manual before buying anything.
If RAM is soldered, look at storage and battery instead. Those are often still replaceable.
Will opening my laptop void the warranty?
Not automatically in the US. Per the FTC’s Magnuson-Moss Warranty Act, a “warranty void if removed” sticker doesn’t legally void coverage on its own. But physical damage you cause during the repair is not covered.
Check your warranty terms before opening anything.
Is a thermal repaste actually worth it?
Yes, if your laptop throttles or runs hot. Research shows a proper repaste can drop CPU and GPU temps by 5°C to 15°C. That translates directly to higher sustained clocks.
Skip it if temps are already fine and the fan is quiet.
Can I put a bigger SSD in any laptop?
No. Check the M.2 slot length first. Common sizes are 2280 (80mm), 2242 (42mm), and 2230 (30mm).
A longer drive won’t physically fit in a shorter slot. Also confirm the interface: NVMe and SATA drives are not interchangeable in the same slot.
Do aftermarket batteries work as well as OEM?
Sometimes, but often not. Aftermarket cells frequently overstate capacity and degrade faster. OEM batteries cost more but match the original specs exactly.
If you go aftermarket, buy from a seller with real reviews and a return policy.
How do I know if an upgrade is worth it versus buying new?
Run the math on your bottleneck. If storage, RAM, or battery is the issue and the parts are replaceable, upgrade. If the CPU, GPU, or chassis is failing, replace.
The rule of thumb: if upgrades cost more than 40% of a new machine, buy new.

Similar Posts