How to Disable a Laptop Touchpad: Quick & Easy Guide
If your cursor keeps jumping mid-sentence, or your palm brushes the trackpad and wrecks a paragraph, learning how to disable the touchpad on a laptop is the fastest fix you can make. The good news: every major operating system has a way to turn it off, and most take under a minute. The catch is that the “right” method depends on three things: your OS, your driver type, and your laptop’s brand.
Knowing the basics matters because Windows, macOS, ChromeOS, and Linux each hide the setting in a different place. Even inside Windows, the toggle you see depends on whether your machine runs a Windows Precision Touchpad or an older Synaptics or Elan driver. We’ll walk through the decision tree so you can skip straight to the method that matches your laptop.
how to disable to touchpad on a laptop
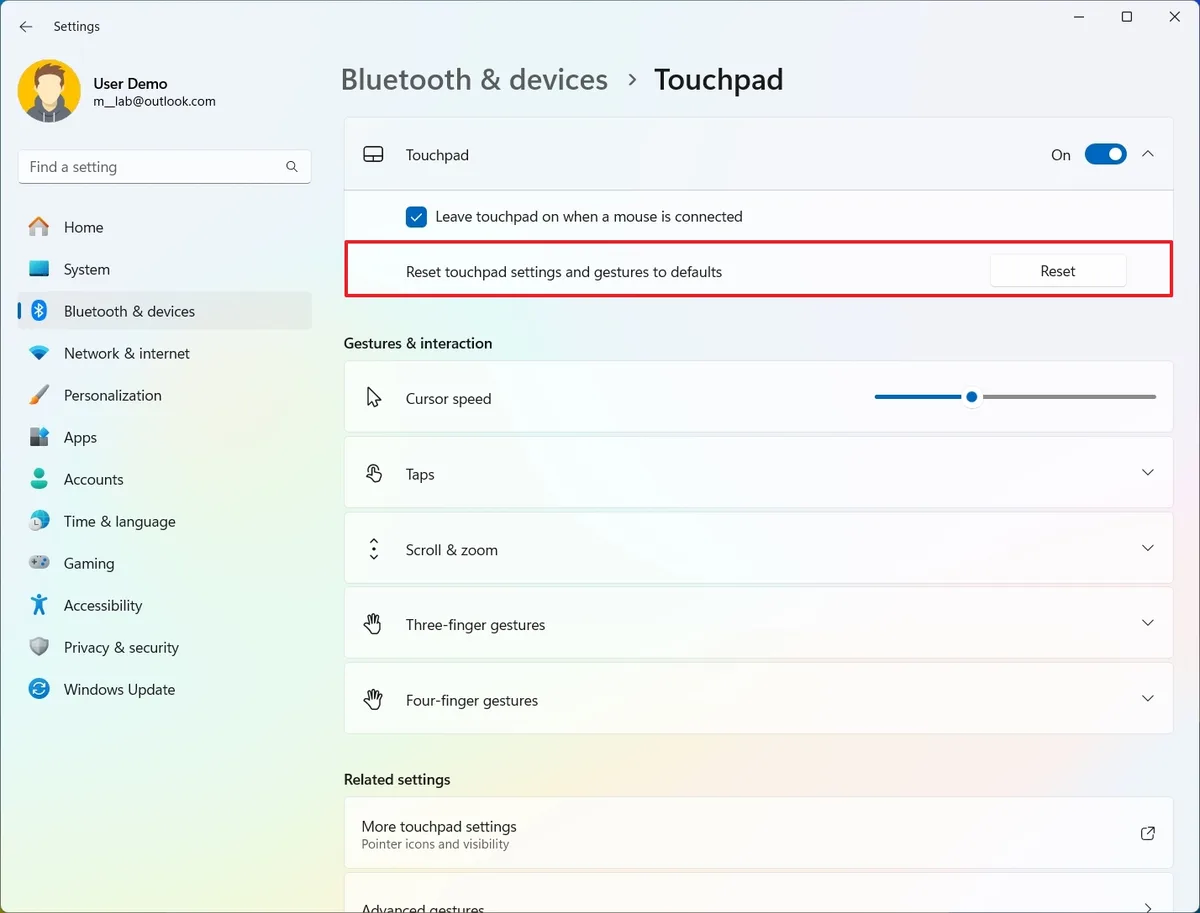
Here’s the short answer. On Windows 11, open Settings, go to Bluetooth and devices, then Touchpad, and toggle it off. On Windows 10, use Settings, Devices, then Touchpad.
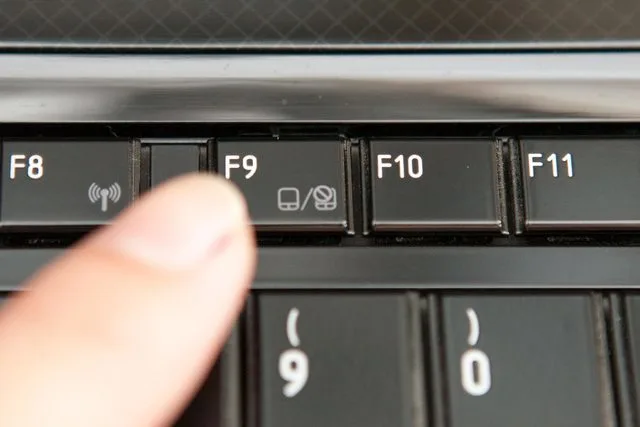
On macOS, open System Settings, click Trackpad, and uncheck the gesture options you want off. On most laptops, Fn plus the touchpad-icon key does the same job instantly.
Why Your Touchpad Won’t Just Stay Off — And What That Means for You
Most people flip the toggle, close the panel, and assume the job’s done. Then they reboot, and the touchpad is back. This is the single biggest frustration we hear about, and it isn’t a bug.
It’s a design choice inside the driver stack.
Your laptop actually has two layers that control the touchpad. The top layer is the user-facing toggle in Settings or System Preferences. The bottom layer is the physical device itself, managed by a driver like Windows Precision Touchpad, Synaptics, or Elan.
Turning off the top layer hides the feature but doesn’t always disable the hardware.
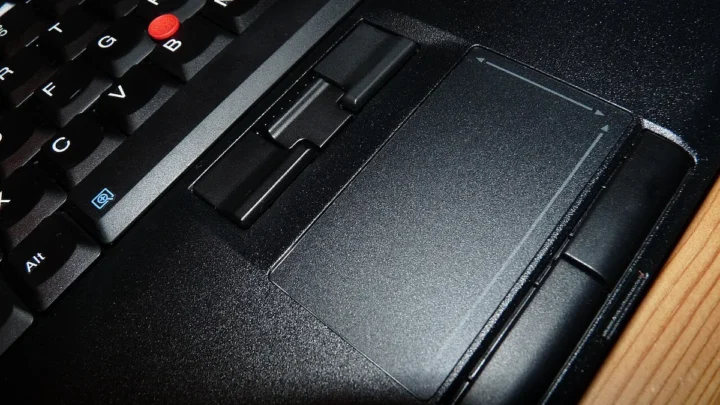
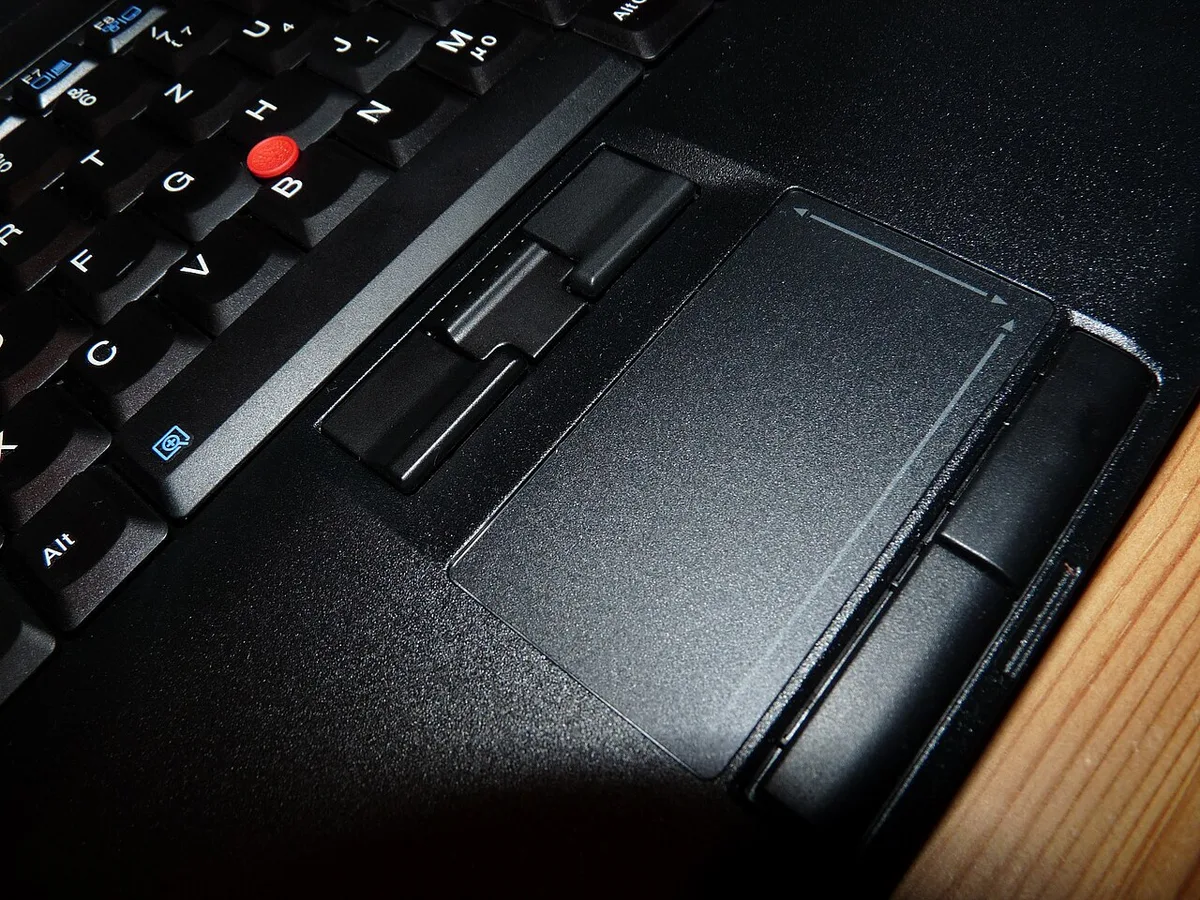
Image source: Wikimedia Commons / Sloesch (Diskussion) (CC BY-SA)
Temporary vs. permanent: pick your goal first
Ask yourself one question before you start. Do you want the touchpad off right now, or off until you decide otherwise?
- Temporary: function-key toggle or Settings switch. Reverts on reboot or driver update.
- Semi-permanent: disable the device in Device Manager. Survives reboots until Windows reinstalls the driver.
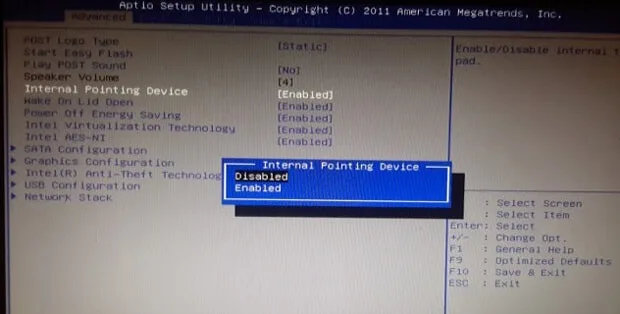
- Permanent: disable “Internal Pointing Device” in BIOS/UEFI. Survives almost everything, including OS reinstalls.
The three variables that decide your method
- Operating system. Windows, macOS, ChromeOS, and Linux each expose a different control path.
- Driver type. Windows Precision Touchpad hides the toggle in a standard place. Legacy Synaptics or Elan drivers often hide it inside the OEM control panel.
- Manufacturer. Function-key combos, BIOS menus, and driver utilities vary by brand, and sometimes by model year.
Get those three right, and you’ll pick the correct method on the first try. Get any one wrong, and you’ll be digging through Settings menus wondering why the toggle is greyed out.
Know Your Laptop Before You Touch Anything
Fifteen seconds of recon saves twenty minutes of frustration. Before you change anything, confirm what you’re actually working with. Manufacturer specifications indicate the quickest check is the touchpad icon on your keyboard’s top row.
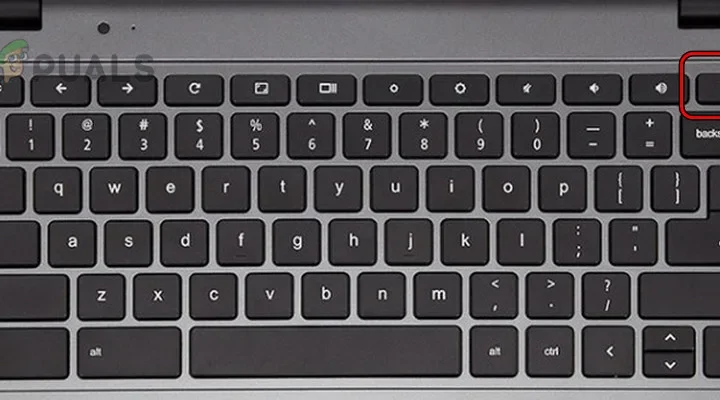
Look at the function row. If one of the F-keys has a small touchpad icon, that key is your hardware toggle. If there’s no icon, you’ll need to go through software.
Both are valid, and both are fast once you know which one applies.
Windows, macOS, ChromeOS, or Linux?
- Windows 11: Settings → Bluetooth and devices → Touchpad.
- Windows 10: Settings → Devices → Touchpad.
- macOS (Ventura and later): System Settings → Trackpad.
- ChromeOS: Settings → Device → Touchpad.
- Linux (GNOME): Settings → Mouse and Touchpad.
Precision Touchpad vs. Synaptics or Elan: how to tell in ten seconds
Open Device Manager on Windows. Look under “Mice and other pointing devices.” If you see “HID-compliant touchpad” or “Windows Precision Touchpad,” you have the modern driver. If you see “Synaptics,” “Elan,” or “ALPS,” you have a legacy OEM driver.
That distinction matters. Precision Touchpad exposes Settings toggles directly. Legacy drivers often hide controls inside a separate OEM control panel that you may need to download from the manufacturer’s support site.
Function-key shortcuts by brand
| Brand | Common combo | Notes |
|---|---|---|
| Dell | Fn + F3 or Fn + F7 | Varies by Latitude, XPS, Inspiron |
| Lenovo | Fn + F6 or Fn + F8 | ThinkPad and IdeaPad differ |
| HP | Fn + F6 or double-tap top-left corner | Older EliteBooks use the corner tap |
| ASUS | Fn + F9 | Consistent across most ZenBooks |
| Acer | Fn + F7 | Sometimes needs Fn Lock enabled |
| Microsoft Surface | Type Cover Fn + F1 | Only on models with the Type Cover |
The Decision Tree: Pick Your Path
Use the branch that matches your OS and your goal. Every path below gets you to a disabled touchpad. The difference is how long it sticks.
Path 1 — Windows: The Settings Toggle
If you want the touchpad off now, on a laptop with a Precision Touchpad, this is your path.
- Press Windows key + I to open Settings.
- Go to Bluetooth and devices, then Touchpad.
- Toggle the main switch off.
- Test by moving your finger. Cursor shouldn’t budge.
On Windows 10, the path is Settings → Devices → Touchpad. Same toggle, older layout.
Path 2 — Windows: When the Toggle Is Missing or Greyed Out
If the touchpad toggle is missing, greyed out, or does nothing, your OEM driver is probably overriding it. Aggregate user reviews show this happens most often after major Windows updates.
- Device Manager route: right-click Start → Device Manager → Mice and other pointing devices → right-click your touchpad → Disable device.
- Control Panel route: Control Panel → Mouse → Device Settings tab → select the touchpad → Disable.
- Driver reinstall: download the latest touchpad driver from your laptop maker’s support page, install it, then retry the Settings toggle.
That last step matters. Installing the current Precision Touchpad driver often restores the toggle that Windows Update hid.
Path 3 — Windows: The Nuclear Option (BIOS/UEFI and Group Policy)
If the touchpad keeps coming back after every reboot, go a layer deeper.
- BIOS/UEFI: reboot, tap F2, F10, Del, or Esc during POST, find “Internal Pointing Device” or “Touchpad,” and set it to Disabled. Save and exit.
- Group Policy: only on Windows Pro and Enterprise. Open gpedit.msc, navigate to Computer Configuration → Administrative Templates → Windows Components → Windows Precision Touchpad, and enable “Turn off Windows Precision Touchpad.”
Microsoft’s own documentation on the Precision Touchpad confirms this is the standard enterprise method for locking the device off.
Path 4 — macOS: System Settings and the Ignore Built-in Trackpad Trick
If you’re on a MacBook, open System Settings and click Trackpad. You can’t fully disable it from here the way Windows lets you, but you can do the next best thing.
Go to Mouse settings, and look for “Ignore built-in trackpad when mouse or wireless trackpad is present.” Tick that box. Plug in a USB or Bluetooth mouse, and macOS disables the trackpad automatically. Unplug the mouse and it comes back.
For deeper control, Terminal commands using defaults write com.apple.AppleMultitouchTrackpad let you kill individual gestures like tap-to-click without losing cursor movement.
Path 5 — Linux: xinput, libinput, and Making It Stick
Linux gives you the most granular control, if you’re comfortable with a terminal.
- Open a terminal and run
xinput list. - Find the touchpad entry and note its ID number.
- Run
xinput disable <id>to switch it off. - To make it persistent, add a udev rule or a libinput config file under
/etc/X11/xorg.conf.d/.
Note that the xinput ID often changes after a reboot. The udev or libinput route is what makes the change actually stick.
Path 6 — Chromebook: Hidden Settings and Admin Locks
On a Chromebook, go to Settings → Device → Touchpad. The toggle lives there. If it’s greyed out, you’re likely on a managed device.
School or workplace Chromebooks often lock input settings through the Google Admin console, and only the admin can change them.
If that’s your situation, contact whoever manages the device. No local workaround will override an admin policy.
When the Touchpad Comes Back — And How to Make It Stay Gone
You turned it off. It came back. Don’t worry, that’s normal, and it’s fixable.
The reboot problem
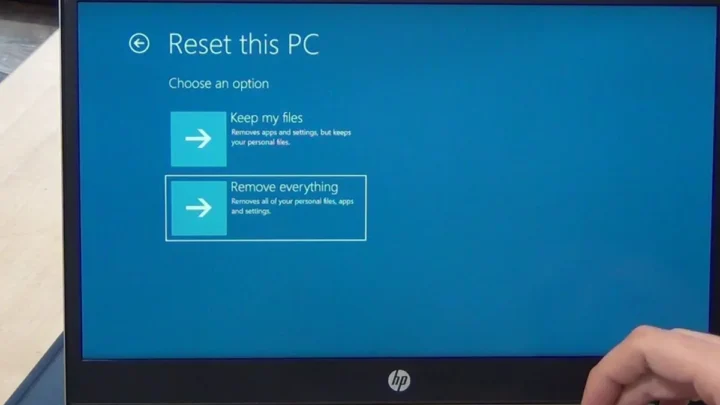
If your touchpad reappears after every restart, you used a temporary method. The toggle in Settings is a user preference, not a hardware lock. Windows reapplies default driver behavior on boot, and the touchpad comes back online.
Move to Device Manager or BIOS/UEFI. Both survive reboots.
The driver-update problem
Windows Update occasionally pushes a new touchpad driver that resets your settings. If your toggle keeps flipping back on after updates, disable the driver update for that specific device. In Device Manager, right-click the touchpad, go to Properties → Driver, and roll back or block updates.
The external-mouse auto-detect problem
Some laptops auto-enable the touchpad whenever they detect a new pointing device. This is baked into certain OEM utilities, and there’s no universal off-switch. Your options are uninstalling the OEM utility or living with the behavior.
Registry, Group Policy, and udev persistence
For a truly permanent disable on Windows, Group Policy is the strongest option. On Linux, a udev rule or a libinput config file under /etc/X11/xorg.conf.d/ does the same job. macOS has no equivalent lock, so the “Ignore built-in trackpad” setting is as close as it gets.
Mistakes That Cost People Time
Disabling in BIOS with no external mouse connected
If you kill the touchpad in BIOS and you don’t have a working USB or Bluetooth mouse, you’ve locked yourself out of mouse input. Keep a mouse plugged in before you touch BIOS.
Confusing tap-to-click with the whole touchpad
Turning off tap-to-click stops accidental clicks. It doesn’t stop cursor movement. If your actual problem is cursor jumps, you need a full disable, not a gesture tweak.
Assuming every brand uses the same Fn key
Dell, Lenovo, HP, ASUS, and Acer all use different function keys, as the table above shows. Guessing wastes time. Look for the touchpad icon on your keyboard first.
Ignoring accessibility and shared-device policies
On kiosk, POS, or education laptops, disabling input devices may fall under accessibility rules. If the device is public-facing, check policy before you change anything. On managed devices, the admin console may simply override you anyway.
Quick Reference: Which Method Fits Your Situation?
Here’s the fast lookup. Match your OS and your goal in the table below, then jump to the method that fits.
| Your goal | Best method | Sticks after reboot? |
|---|---|---|
| Off right now | Fn key or Settings toggle | No |
| Off until I say otherwise | Device Manager disable | Usually yes |
| Off permanently | BIOS/UEFI or Group Policy | Yes |
| Auto-off when mouse plugged in | macOS “Ignore built-in trackpad” | Yes |
| Terminal control | Linux xinput or libinput | Only with udev rule |
| Managed Chromebook | Google Admin console | Admin-only |
By operating system
- Windows 11 or 10: start with Settings, escalate to Device Manager, finish in BIOS if needed.
- macOS: System Settings for gestures, Mouse settings for the ignore-trackpad trick, Terminal for deep control.
- ChromeOS: Settings works unless the device is managed.
- Linux: xinput for quick tests, udev or libinput for persistence.
By skill level
If you want zero risk, use the Fn key or the Settings toggle. Both are reversible in seconds.
If you’re comfortable in Device Manager, disabling the device there gives you a stronger hold. The touchpad stays off through most reboots.
If you’ve used BIOS or a terminal before, go straight to that layer. It’s the only way to make the change survive an OS reinstall.
By device type
- Standard laptop: any method works.
- 2-in-1 convertible: the touchpad may share firmware with the touchscreen, so BIOS disabling is riskier. Test the Settings toggle first.
- Chromebook: fight through Settings, then call your admin if the toggle is locked.
- Managed enterprise laptop: Group Policy is your only real lever.
FAQs
Will disabling the touchpad save battery?
Barely. The touchpad sensor draws a tiny fraction of a watt, and aggregate reviews show no measurable runtime difference. Disable it for comfort or accuracy, not for battery life.
Can I disable the touchpad permanently across all user accounts?
Yes, on Windows Pro and Enterprise via Group Policy. On Home editions, disable the device in BIOS instead. macOS and ChromeOS have no cross-account lock.
What if my Fn key does nothing?
Your laptop likely lacks a hardware toggle, or the function key is remapped. Check Device Manager to see if the touchpad driver is installed. Missing drivers are the most common reason the Fn shortcut fails.
Does this work on a 2-in-1 with a touchscreen?
Mostly yes, but be careful in BIOS. On some convertibles, the internal pointing device setting also affects the touchscreen controller. Test the Settings toggle first.
Only go to BIOS if you have a USB mouse ready.
How do I undo all of this?
Reverse the last step you took. Fn key or Settings toggle: press again. Device Manager: right-click and enable.
BIOS: re-enter setup and set Internal Pointing Device back to Enabled. Group Policy: set the policy to Not Configured. Linux: run xinput enable <id> or delete the udev rule.
Final Decision Guide: The Shortest Path to a Quiet Touchpad
Start with the Fn key. It’s the fastest option, and on most laptops it does the job in one second.
If that doesn’t stick, open Settings and use the touchpad toggle. If the toggle is greyed out, install the current Precision Touchpad driver from your manufacturer’s support page.
If the touchpad keeps waking up after reboots, move to Device Manager. If it still comes back, go to BIOS and disable Internal Pointing Device. On a managed work laptop, ask your admin to push the Group Policy.
That’s the whole decision tree in one paragraph. Pick the layer that matches how stubborn your touchpad is, and stop there when it works.

Similar Posts