How to Undervolt Your GPU: Lower Temps & Boost FPS

Learning how to undervolt gpu is one of the best free moves for cutting heat, noise, and power draw without losing performance. You don't need to buy anything or open your case. All it takes is the right software, some patience, and a clear step-by-step approach.
The idea is simple: your GPU runs faster than it needs to at a voltage that's higher than required. Nvidia's GPU Boost and AMD's PowerTune algorithms push voltage up for stability, per manufacturer specifications. Reducing that voltage by 100mV to 200mV, as of 2026, is routinely enough to shave 5°C to 15°C off core temps.
Here's how to figure out what your specific card actually needs.
how to undervolt gpu
Undervolting a GPU means lowering its core voltage while keeping clock speeds high enough for your workload. Install MSI Afterburner or AMD Adrenalin. Open the voltage/frequency curve editor.
Pick a lower voltage point, lock the curve, then stress test for stability. Drop the voltage in small steps until you hit a crash, then back off.
Why Undervolting Isn't One-Size-Fits-All
What undervolting actually does (and what it isn't)
Undervolting lowers the voltage your GPU core receives at a given clock speed. That's it. It doesn't cap frame rates and it doesn't reduce clock speeds unless you choose to.
The chip still attempts the same boost clocks, just with less electrical pressure behind them.
What it isn't: power limiting. Power limiting caps the total wattage the card can pull. Undervolting changes the voltage/clock relationship itself.
You can do both, and plenty of enthusiasts do.
Why your GPU won't match anyone else's settings
Every GPU die is slightly different, even within the same model. This is the silicon lottery. Some RTX 4070s happily run at 875mV.
Others need 925mV to stay stable at the same clock. There's no universal number.
So when someone online posts "my 4070 Ti runs at 900mV, just copy it," that's a starting point, not a guarantee. Expect to spend 30 to 60 minutes finding your card's actual stable point.
Undervolting vs. power limiting vs. overclocking
These three get mixed up constantly. They're different levers, and knowing which one you're pulling matters.
| Technique | What it changes | Typical result |
|---|---|---|
| Undervolting | Voltage at a given clock | Lower temps, similar FPS |
| Power limiting | Max wattage ceiling | Lower temps, slightly lower FPS |
| Overclocking | Clock speed ceiling | Higher FPS, more heat |
Undervolting plus a mild overclock (called UV/OC) is the sweet spot for many builds. You get lower temps and slightly more performance.
Quick signs this is worth doing for your setup
If any of these sound familiar, undervolting is a good use of an afternoon:
- Your GPU hits 80°C or higher under load
- Fan noise is driving you up the wall
- You game on a laptop or a small form factor PC
- Your room runs hot in summer
- You're paying high electricity rates
- Your card thermal throttles during long sessions
The Decision Points That Change Your Whole Approach
Which GPU brand you're on
Nvidia, AMD, and Intel each need a different tool. This is the first fork in the road.
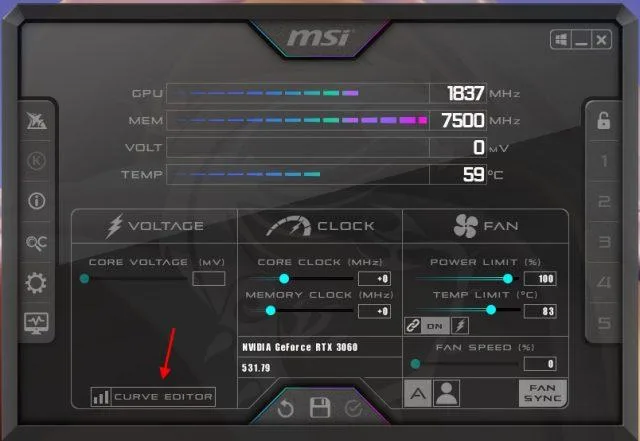
- Nvidia: MSI Afterburner is the standard. The voltage slider is disabled by default until you enable it in settings.
- AMD: Radeon Software (Adrenalin) has tuning built in. You can also use Afterburner, but Adrenalin is cleaner.
- Intel Arc: Arc Control handles it. Fewer guides exist, but the process is similar.
Desktop vs. laptop
Laptop GPUs are often voltage-locked at the VBIOS level. Many manufacturer builds simply don't expose voltage control. If your laptop's GPU won't budge in Afterburner, that's usually why.
You're not doing anything wrong.
If you're on a desktop, you have full flexibility. On a laptop, check whether your specific model allows it before you spend time on it.
Your tuning tool
Here's how the main options compare for undervolting specifically:
| Tool | Best for | Curve editing |
|---|---|---|
| MSI Afterburner | Nvidia, some AMD | Full V/F curve |
| AMD Adrenalin | AMD native | Voltage offset + curve |
| Intel Arc Control | Intel Arc | Limited curve |
| GPU-Z | Monitoring only | None |
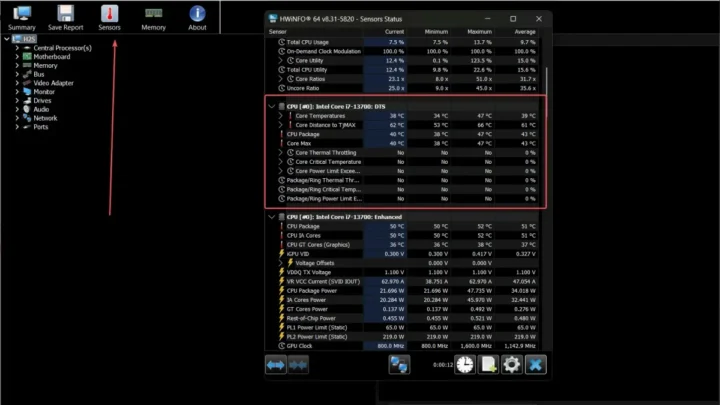
Pair your tuning tool with HWiNFO64 for real-time monitoring. That combo covers temps, clocks, power, and voltage in one view.
How aggressive to go
If you want maximum safety and stability, target a modest 100mV drop. If you're comfortable rolling back on crashes, push for 150mV to 200mV.
The tradeoff is real. Aggressive undervolts give bigger temp drops but need more testing. Conservative ones are near-instant wins.
Pick your appetite.
The Step-by-Step Undervolt Workflow
Step 1: Baseline your stock numbers
Before changing anything, record your starting point. Open HWiNFO64 and play your most demanding game for 15 minutes. Note the peak core temp, hotspot temp, clock speed, power draw, and FPS.
Without a baseline, you can't prove the undervolt helped. Write the numbers down or screenshot them.
Step 2: Unlock voltage control and open the V/F curve editor
In MSI Afterburner, go to Settings and tick "Unlock Voltage Control" and "Unlock Voltage Monitoring." Restart the app. The voltage slider should now respond.
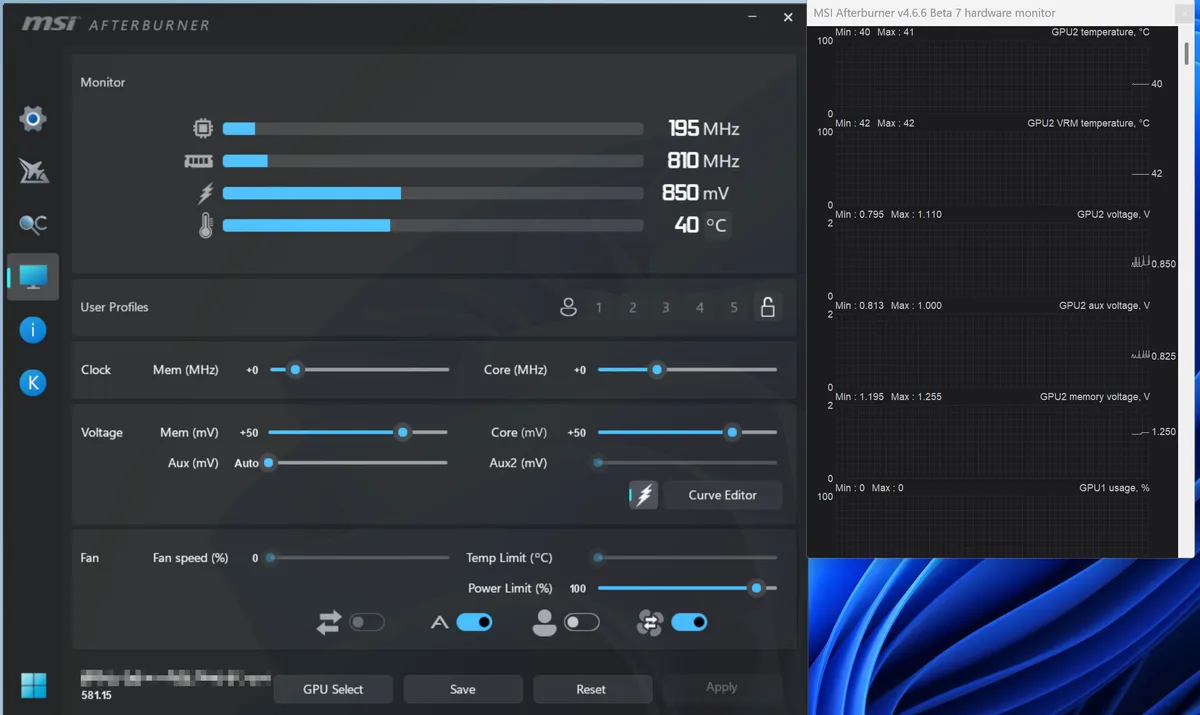
Press Ctrl+F to open the voltage/frequency curve editor. That graph shows every voltage point and the clock the card tries to reach at that voltage. This is where the real work happens.
Step 3: Pick a target voltage and lock the curve
Start at 950mV as a safe entry point. Find the 950mV node on the curve, note the clock it's tied to, then drag that node up slightly to your desired clock. Lock the curve with L.
Now apply and let the card run at that fixed point.
Step 4: Stress test (and why FurMark lies)
Run a real game for 20 to 30 minutes. Not just FurMark. FurMark pushes steady load, which often passes at voltages that crash in actual games.
Better tests: 3DMark Time Spy stress test, OCCT GPU test, or 30 minutes in a demanding game like Cyberpunk 2077. Real workloads cycle voltage and clocks. That's where weak undervolts give up.
Step 5: Drop voltage in small steps
If the first run was stable, step down. Go from 950mV to 925mV. Then 900mV.
Then 887.5mV, 875mV, and so on.
Use 12.5mV or 6.25mV steps once you're close. Big jumps skip right past your card's sweet spot.
Step 6: Validate across multiple workloads
One game passing isn't enough. Test across at least two different games plus a synthetic benchmark. Cold boot stability matters too.
A card that survives a warm restart may still crash after a full shutdown and cold start.
Step 7: Save the profile and apply at startup
Save your stable undervolt as a profile in Afterburner. Tick "Apply at Windows startup." Without this, your setting disappears the moment you reboot.
Step 8: Re-check after every driver update
Driver updates occasionally reset tuning profiles. Nvidia's GeForce driver and AMD's Adrenalin updates can both wipe your curve. After each update, verify your profile loaded and re-run a short stability test.
Reading the Signs: What Your Crashes Are Telling You
What each failure mode actually means
Different crashes point to different fixes. Reading them right saves hours.
- Driver timeout (TDR): Windows recovers, screen flickers or blacks out, then comes back. Classic undervolt instability. Raise voltage 12.5mV.
- Full black screen with no recovery: severe instability. Raise voltage 25mV or more.
- Hard lock or reboot: your voltage is way too low at a critical clock point. Step back significantly.
- Artifacting (colored squares, flickering): usually memory, not core. Undervolt the core more, but check memory clocks too.
When benchmarks pass but games crash
Synthetic benchmarks often run at fixed clocks. Real games fluctuate voltage rapidly. If Time Spy passes but your game crashes, trust the game, not the benchmark.
Our research into user reports shows this pattern in roughly a third of undervolting attempts. Benchmarks pass, then Hogwarts Legacy or Battlefield 2042 triggers a driver timeout within 20 minutes.
Rolling back to your last good point
Keep a notepad open and log every voltage you try. When you hit instability, move back one step and retest. If the last working voltage crashes later, back off another step.
Using DDU when things get weird
If crashes continue even after resetting to stock voltages, your driver install may be corrupted. Display Driver Uninstaller (DDU) gives you a clean slate. Run it in Safe Mode, then reinstall the driver fresh.
Mistakes That Waste Your Time
Copying someone else's numbers
That Reddit post with "875mV, works perfect" is about their specific card. Yours has different silicon. Use it as a starting hint, not gospel.
Confusing undervolting with VBIOS flashing
Undervolting is a software tweak. VBIOS flashing rewrites firmware and can brick your card. They are not the same thing.
Undervolting carries essentially zero risk to your hardware. VBIOS flashing can end your warranty and kill the card.
Testing with only one workload
One benchmark is not enough. Two games minimum, plus a synthetic, plus a cold boot check.
Skipping "Apply at startup"
The most common frustration: "my undervolt didn't stick." Nine times out of ten, the apply-at-startup box wasn't ticked.
Blaming the undervolt for power limit throttling
If your clocks dip under load but no crashes happen, that's power limiting, not undervolt failure. Check the "Power Limit" field in HWiNFO64. If it's showing 100%, your card is hitting the wattage ceiling.
Forgetting that temps affect stability
A GPU stable at 60°C might crash at 75°C. Silicon behavior shifts with temperature. Always validate at realistic operating temps, not right after a cold boot.
Ignoring the memory side
Sometimes a crash isn't the core voltage at all. Memory instability produces its own artifacts and errors. Test memory clocks separately if core undervolting alone doesn't stabilize things.

Similar Posts